***** ALERT - Nominations for your new ClubCJ Committee can be made here *****

What did you do on your car today?

Start a Topic! Have Your Say & Talk About Anything.

Moderators: Moderators, Senior Moderators

User avatar
alterego13
Lancer VR/GT
Lancer VR/GT
Posts: 293
Joined: Mon Aug 01, 2011 5:47 pm
Location: Perth, Australia

Postby alterego13 » Sun Jun 16, 2013 2:54 am

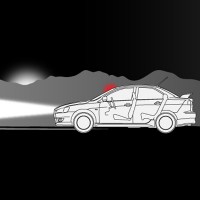
debonaire wrote: Holy crap dude, with the OEM bulbs you cant even see the truck there!!! *biggrin1*

Hahahaha....exactly what I thought when I saw photos posted...but was too lazy to comment from the phone :P

User avatar
vermilioN
Lancer Ralliart
Lancer Ralliart
Posts: 632
Joined: Sat Jun 16, 2012 1:06 pm
Location: Adelaide

Postby vermilioN » Sun Jun 16, 2013 3:48 am

Im fairly certain the truck isnt even there in the after photo lol.
Image

Australia's sexiest blacked out ralliart ;)

evo x turbo, ets intercooler, turbosmart wga, aem intake, ur intercooler piping, ur turbo back exhaust, 3port

User avatar
JJams6
Lancer VR/GT
Lancer VR/GT
Posts: 288
Joined: Sat Apr 20, 2013 10:11 pm
Location: Northern Adelaide,Australia

Postby JJams6 » Sun Jun 16, 2013 9:34 am

now thats a damn clean dash!!

alterego13 those globes look a hell better then the OEM
(cj-orange)

User avatar
evil.ralliart
Lancer Evolution
Lancer Evolution
Posts: 840
Joined: Tue Mar 29, 2011 7:18 pm
Location: Queensland

Postby evil.ralliart » Sun Jun 16, 2013 11:44 am

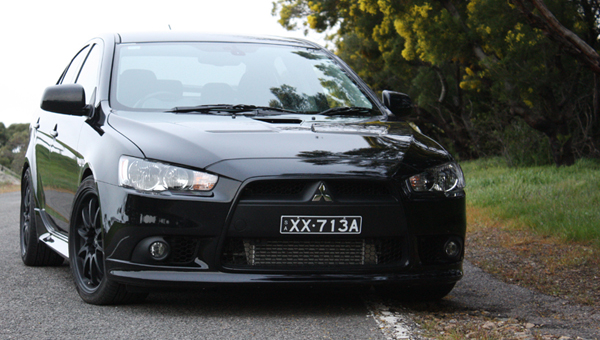
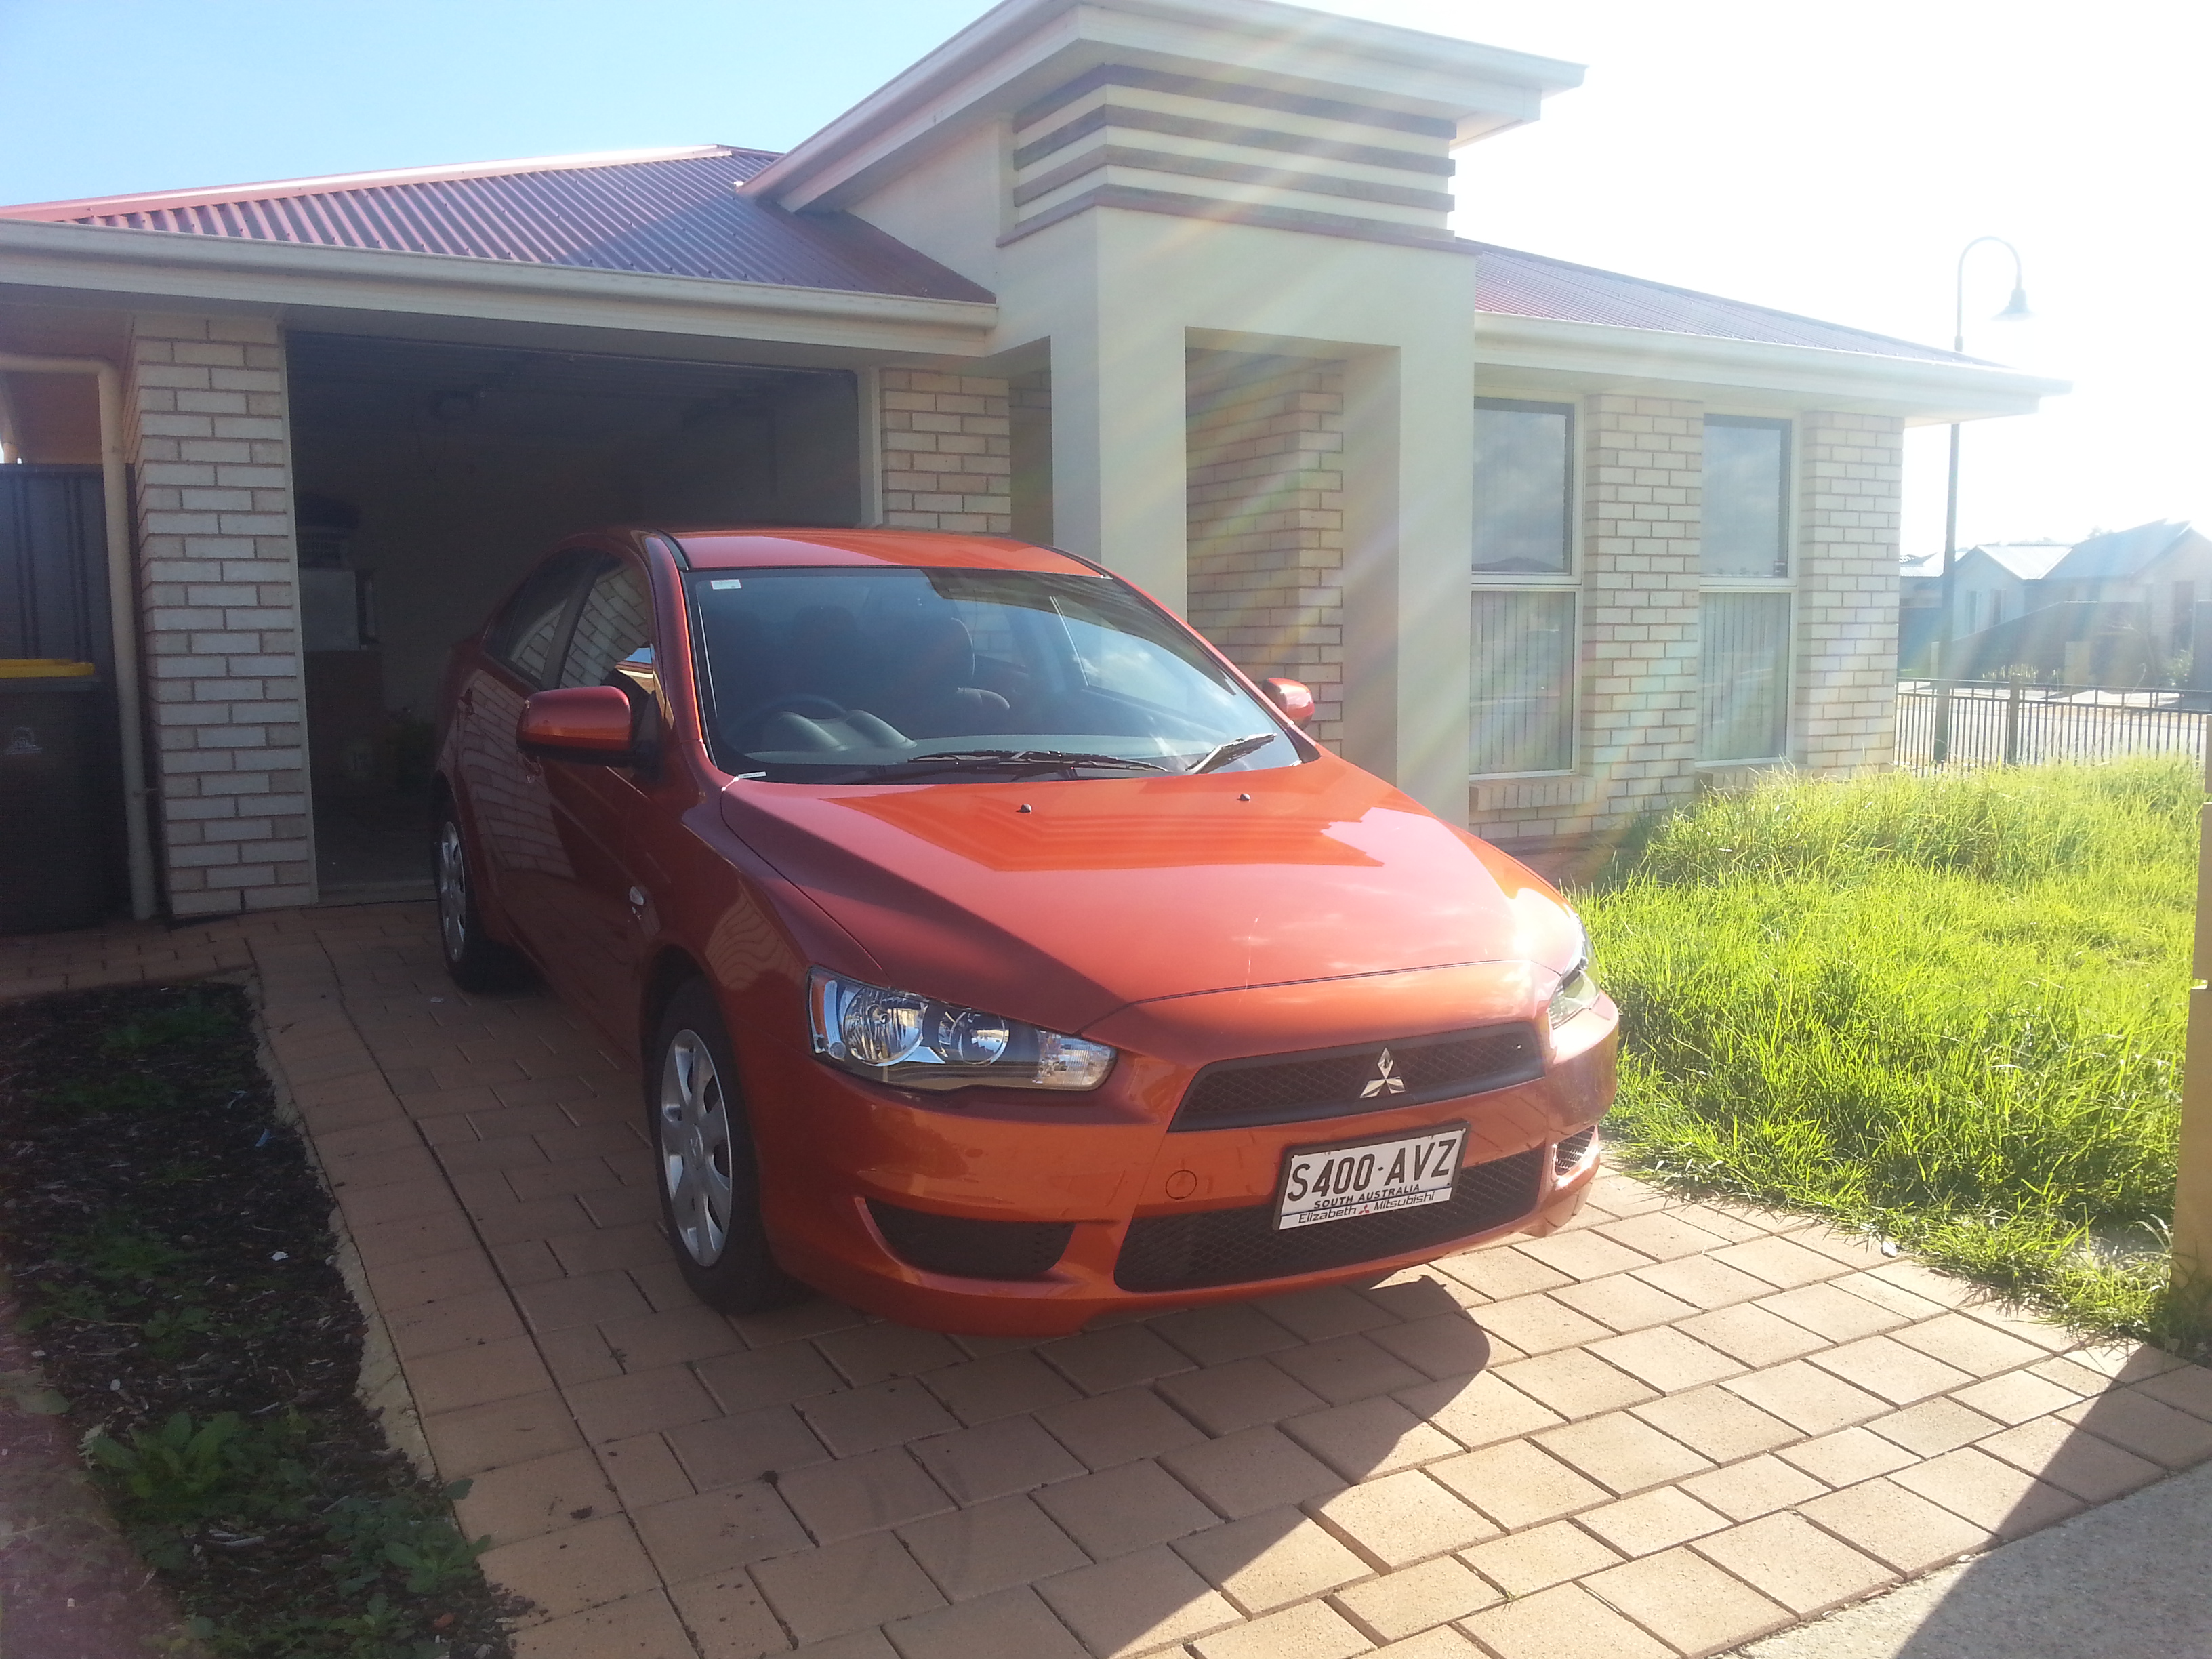
Mitch wrote:Had mums Car Fixed by getting Dents Removed Company Name: Dent-Rite Paintless Dent Repairs Mobile Service Name: Paul Galliford Damage Types: Hail Damage, Small Dents Phone Number: 0417 627 994 Address: 42 Taragon Street Bald Hills QLD He is a Fantastic Guy and Great work thankyou Evil Ralliart for the contact details for Paul.


Yea...He does great work and been doing it for a long time. He is into cars wich really makes a difference i think. Did you get any before and after pics Mitch?
Good to see that there is a few good tradesmen that take pride in there work. I tried to put up a post of a list of services that members have had good/bad work done by to save members the drama of finding a good Business to deal with or bad but it got canned by committee for some reason.

User avatar
Craker
Lancer VRX/GTS
Lancer VRX/GTS
Posts: 360
Joined: Sat Jun 02, 2012 9:56 pm
Location: Kings park sydney nsw

Postby Craker » Sun Jun 16, 2013 1:34 pm

put my carbon vinyl overlays on my engine cover.
thanks to peter from c.a.d. for them and the good instructions.

Image
2011 lancer ralliart sportback
192kw + 370nm at wheels virtual dyno by boostin juice tuning
Hyperflow intercooler, gfb respons bov , gs 3 port
ultimate racing uicp and licp, hyperflow cat back + hi flow cat
MCA blue coilovers and whiteline sway bars
T3 rotors and ds performance pads
enkei sc 22 wheels

User avatar
sleeper
Alumni
Alumni
Posts: 8259
Joined: Fri Apr 23, 2010 10:14 am
Location: brisbane
Contact:

Postby sleeper » Sun Jun 16, 2013 1:54 pm

rear plastidip spats.

Image
210 KWATW 400nm RALLIART Virtual Dyno 1/1
http://goo.gl/GrUosm


Image

User avatar
KaiKat
Lancer VRX/GTS
Lancer VRX/GTS
Posts: 348
Joined: Thu Jan 10, 2013 4:51 pm
Location: Brisbane, Aus

Postby KaiKat » Sun Jun 16, 2013 2:06 pm

Looks good Steve. It look like the right shape
TrojanHorse: Kyle, the red rocket!

User avatar
sleeper
Alumni
Alumni
Posts: 8259
Joined: Fri Apr 23, 2010 10:14 am
Location: brisbane
Contact:

Postby sleeper » Sun Jun 16, 2013 2:25 pm

thanks kyle :)
210 KWATW 400nm RALLIART Virtual Dyno 1/1

http://goo.gl/GrUosm


Image

User avatar
Fizzlefuzzle
Lancer Ralliart
Lancer Ralliart
Posts: 723
Joined: Tue Sep 18, 2012 1:05 pm
Location: Rawson, australia

Postby Fizzlefuzzle » Sun Jun 16, 2013 2:39 pm

More pink! Lol
<b> Proud owner of Australia's and club cj's first glitter pink 2011 CJ Mitsubishi Ralliart Lancer :) </b>


<i> Life is short, so are my dogs! (corgi life) (basset life) </i>


Mod thread ; http://clubcj.net/viewtopic.php?p=297953 (cj-black)

User avatar
Tweak
Lancer VRX/GTS
Lancer VRX/GTS
Posts: 459
Joined: Sun Nov 14, 2010 6:11 am
Location: Australia

Postby Tweak » Sun Jun 16, 2013 4:33 pm

sleeper wrote:rear plastidip spats. [img:1a13f0bd0f]http://www.clubcj.net/img/images/20130616135327_DSC_0506.JPG[/img:1a13f0bd0f]


the reminds me i should do mine

User avatar
bunnishiwa
Lancer Legend
Lancer Legend
Posts: 1284
Joined: Thu Dec 24, 2009 4:22 pm
Location: Rye, Melbourne

Postby bunnishiwa » Sun Jun 16, 2013 7:06 pm

Wow - looking pretty fierce there Jess

Spent the day removing my MMCS (Unit is sold), RF sub and amp. Run new power, ground, RCA's, speaker cables and making a board for my new (old) amp to mount on in the original RF amp position.

Finished up sorting out the multitude of wiring looms for a plug n play tomorrow to finish it off - now just need to find the wire on the MMCS loom(s) that is triggered by going into reverse and all good

Pics to follow once done
Last edited by bunnishiwa on Sun Jun 16, 2013 7:11 pm, edited 1 time in total.
- Self tuned - work in progress - tune revision #16_03
- GS 3 port controlled wooooot :)
- Lowered on Kings
- Black Evo X FMIC/ Evo IX BOV/ Depo HFC/ UR UICP
- Awesome self installed Alpine/JL Audio sound system
- Whiteline Rear Swaybar


Noli Timere Messorem

User avatar
bunnishiwa
Lancer Legend
Lancer Legend
Posts: 1284
Joined: Thu Dec 24, 2009 4:22 pm
Location: Rye, Melbourne

Postby bunnishiwa » Sun Jun 16, 2013 7:08 pm

**Bump
- Self tuned - work in progress - tune revision #16_03

- GS 3 port controlled wooooot :)

- Lowered on Kings

- Black Evo X FMIC/ Evo IX BOV/ Depo HFC/ UR UICP

- Awesome self installed Alpine/JL Audio sound system

- Whiteline Rear Swaybar


Noli Timere Messorem

User avatar
bunnishiwa
Lancer Legend
Lancer Legend
Posts: 1284
Joined: Thu Dec 24, 2009 4:22 pm
Location: Rye, Melbourne

Postby bunnishiwa » Tue Jun 18, 2013 12:41 pm

Did my full audio install Sunday & yesterday. Was a great joy with the pouring rain all day yesterday down my neck of the woods

My RF amp (sans seat)

Image


Mounting board for new amp to fit the OEM location

Image


Test fitting board

Image


Amp in place

Image


Fun with wires

Image


The hard work starts to pay off with a working head unit

Image


Amp in place under seat

Image


Sub in boot - only just fits as the RA floor is much higher than the NA Lancer boot floor. Will be making a fibreglass box for the corner OEM position once the warmer weather comes around

Image


Couple of things I learnt, including not being careless when cutting cable tie ends (I have a microphone cable that I have to try to splice, or replace :? ), one of the tweeters currently doesn't work and it needs properly tuning.

Very very happy though :D

Very happy to
- Self tuned - work in progress - tune revision #16_03

- GS 3 port controlled wooooot :)

- Lowered on Kings

- Black Evo X FMIC/ Evo IX BOV/ Depo HFC/ UR UICP

- Awesome self installed Alpine/JL Audio sound system

- Whiteline Rear Swaybar


Noli Timere Messorem

User avatar
JJams6
Lancer VR/GT
Lancer VR/GT
Posts: 288
Joined: Sat Apr 20, 2013 10:11 pm
Location: Northern Adelaide,Australia

Postby JJams6 » Tue Jun 18, 2013 4:52 pm

bunnishiwa that looks great nice work :)
(cj-orange)

User avatar
JJams6
Lancer VR/GT
Lancer VR/GT
Posts: 288
Joined: Sat Apr 20, 2013 10:11 pm
Location: Northern Adelaide,Australia

Postby JJams6 » Tue Jun 18, 2013 4:53 pm

Image

Gave my penny a well deserved wash :)
(cj-orange)


Return to “General Talk”

Who is online

Users browsing this forum: No registered users and 26 guests