I bought it from
MetroDecals.com. Life span is 3-5 years and can do 4 bumpers. Cost me $27
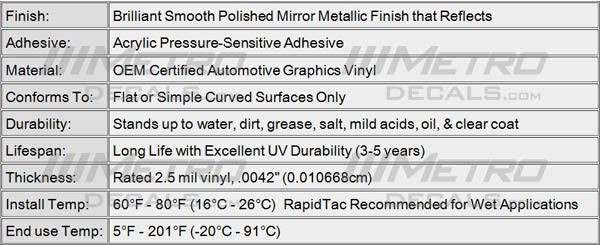
Here are the specs:
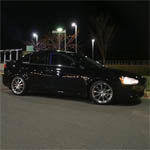
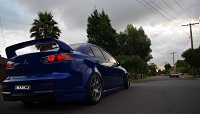
Here is my before shot:
===============

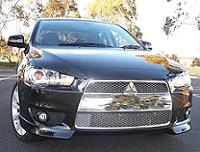
My first attempt:
===========
I grabbed my almost empty bottle of Meguiars Quick Detailer and used that as a lubricant to make it easier to apply. Well that didn't lubricate to well, it works fine as a lube with a clay bar but not vinyl. It didn't lube at all. I peeled off the backing and placed the vinyl on the bar and it stuck straight away and didn't slide at all. Lucky I stuck it on pretty straight. The Meguiars did make it a bit easier to peel the vinyl off, but when I did peel it off a bit, the vinyl creased and left a white mark like a scratch, this would be covered by the numberplate, so I kept going.
In the end there were a few creases left towards the centre that extended above and below the number plate, but the sides didn't look too bad, except around the tow plug were I tried to use the hair dryer to shrink the vinyl to remove some bubbles. Bad move, using the hair dryer was like using a blow torch on plastic, as I pointed the hair dryer towards the bar, the vinyl turned a bit white and shrivelled up a bit.
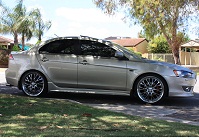
Here's a pic of my first attempt:

This didn't take too long and I figured using soapy water would make it easier, so I peeled it all off, ready for another go in the morning.
My second attempt:
=============
In my first attempt, I had lots of creases in the middle of the bar. The bar looks flat and straight, but its not and this stuff does not stretch and creases very easily. I figured if I cut out the centre bit which will be covered by the number plate it would make it easier and I will get less creases. I cut out the centre and this time used soapy water. The soapy water did allow the vinyl to slide on the bar, the problem was, it slid too well and I could not get the vinyl to stick in places and it kept moving and lifting, creating way too many bubbles.
I had more vinyl so I decided I would use this attempt as a test for the tow plug cut out. I wanted to see if I could get a nice cut out of the plug. I tried it and it wasn't too hard, so I decided on the next attempt I would cut out the plug. I slid this bit of vinyl off the bumper and tossed it in the bin.
No pic of this failed attempt.
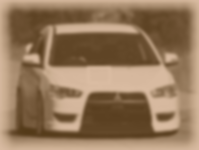
My third attempt:
===========
Well, cutting out the centre helped and cutting out the plug seemed to work aswell, but the soap didn't really make it easier. Out of the previous attempts, my first application worked out better, so I decided to go the Meguiars route again, I still had a little left.
I wet the bumper down peeled off my newly cut sheet and placed it on the bumper like I did the first time, but not as straight this time.... What a nightmare. I slowly started working the vinyl with my Medicare card covered in a microfibre towel and it started looking good. No creases on the sides, as I was pushing them towards the centre off the bar, to be covered by the number plate.. Pretty happy with my efforts so far, Then my wife calls out that its almost time to go --We had a birthday party to go to-- So I started speeding up a bit, but not to fast.
Sides were looking good, so I started cutting off the extra bits from one side... still looking good, then the other side, I cut out the tow plug hole, then the bottom... pretty happy with my self I went to cut the top and thats when I saw it was a little short in the middle... NOOOO I"M NOT DOING THIS AGAIN !!!!! and all I hear in the background is my wife shouting "Hurry Up Lets Go" So I grabbed a cut off piece from the bottom and stuck it in the middle accross the top of the bar and said "f@#k it, its good enough"
At the party I kept thinking about how to make it easier... it can't be that hard to do... Surely someone makes a damm flat bumper cap that I can buy and get chromed.
After the party(a kids 4th birthday) I was scared to look at what I had done to the car, but once the grill was in and the number plate was on, it didn't look too bad so I left it on...
But not happy with the result.
Well I have one more strip of vinyl left, but I really don't feel like doing it all over again now... Maybe in a few weeks I might try one more time with a second pair of hands. It's really hard trying to do this on your own.
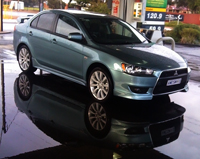
And the pics of my third attempt:
The ones in the first post.
In the first pic you can see my ClubCJ decal in the engine bay.
I get an extra 10kw from that


