***** ALERT - Nominations for your new ClubCJ Committee can be made here *****
*CLOSED* X-Factor Leather Seat Cover CCJ GB - Apr 2011
Moderator: Senior Moderators
- Alileighju
- Lancer Evolution

- Posts: 823
- Joined: Sun Dec 26, 2010 12:51 am
- Location: Brisbane, QLD, Australia
Good Advice Irving..
Is it possible to do the whole backseat in a day (with help)? I have the help of my mother who is an experienced seemstress so i plan to take advantage of that when she has time free.
Chubb wrote:Best part to start with is the base of the rear seat, then I moved the the rear seat wings, then to the back of the rear seats. After that I did the front seats one at a time.
Is it possible to do the whole backseat in a day (with help)? I have the help of my mother who is an experienced seemstress so i plan to take advantage of that when she has time free.
Maybe not the whole backseat mate as the two seat backs particularly the one with the arm rest require and little bit of time. Word of advice take your time removing the plastic cover found in the arm rest recess, I broke on of the four clips that hold it in and I have heard some people broke them all rushing.
A second person would be great help doing the bottom of the rear seat, due to its size you will get a better result if someone holds the leather cover firm while you add the c-clips.
Really once you get the hang of it you will be right, as the process is much the same for each piece. Not having the seat bolsters should make doing the front seats a whole lot easier.
Ah finally for those of you with airbags in your front seats pay close attention when fitting your front covers you will most likely need access to a sewing machine. The reason why is the airbag in a seat has a seat belt like material that guides the airbag to the weakened airbag stitch when deployed. This seatbelt like material screws to the seat frame using two metal clips that are not included in the xfactor package.
You will need to undo the stitching on your factory covers to first remove the clips take not of how long each piece of seatbelt material is as you will need to make sure the ones are the leather are sewn to the same length. Now thread the seatbelt material through the clip (making sure the clip faces the correct direction) then sew across the overlap at the desired length to hold the clip on.
This step can seem a little dawnting but you should be able to figure it out, if not PM me for my phone num and I can help you over the phone. When it comes to airbags it is best to safe then sorry.
- Alileighju
- Lancer Evolution

- Posts: 823
- Joined: Sun Dec 26, 2010 12:51 am
- Location: Brisbane, QLD, Australia
I tackled the rear bottom leather seat today!
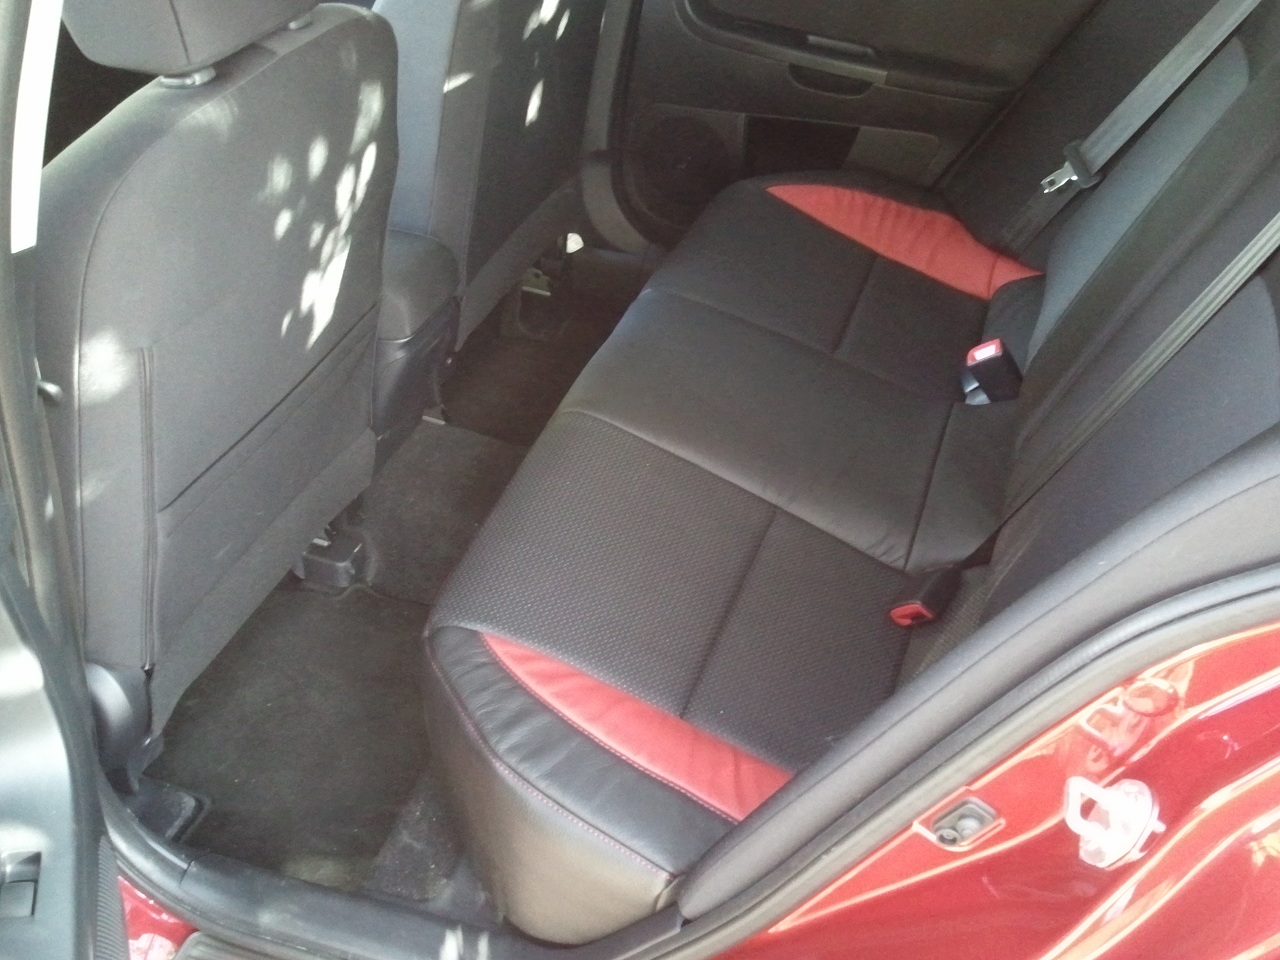
Taking it out was very easy (just 2 clips) and getting all the C clips out was pretty easy too but stretching the leather to make it fit and clipping back took some getting use to. A tip: When re-clipping, one hand for the re-clipping tool and for the other hand, use some pliers to pull the wire close. Otherwise it was pretty straight forward! I'm pretty happy with the way mine turned out!
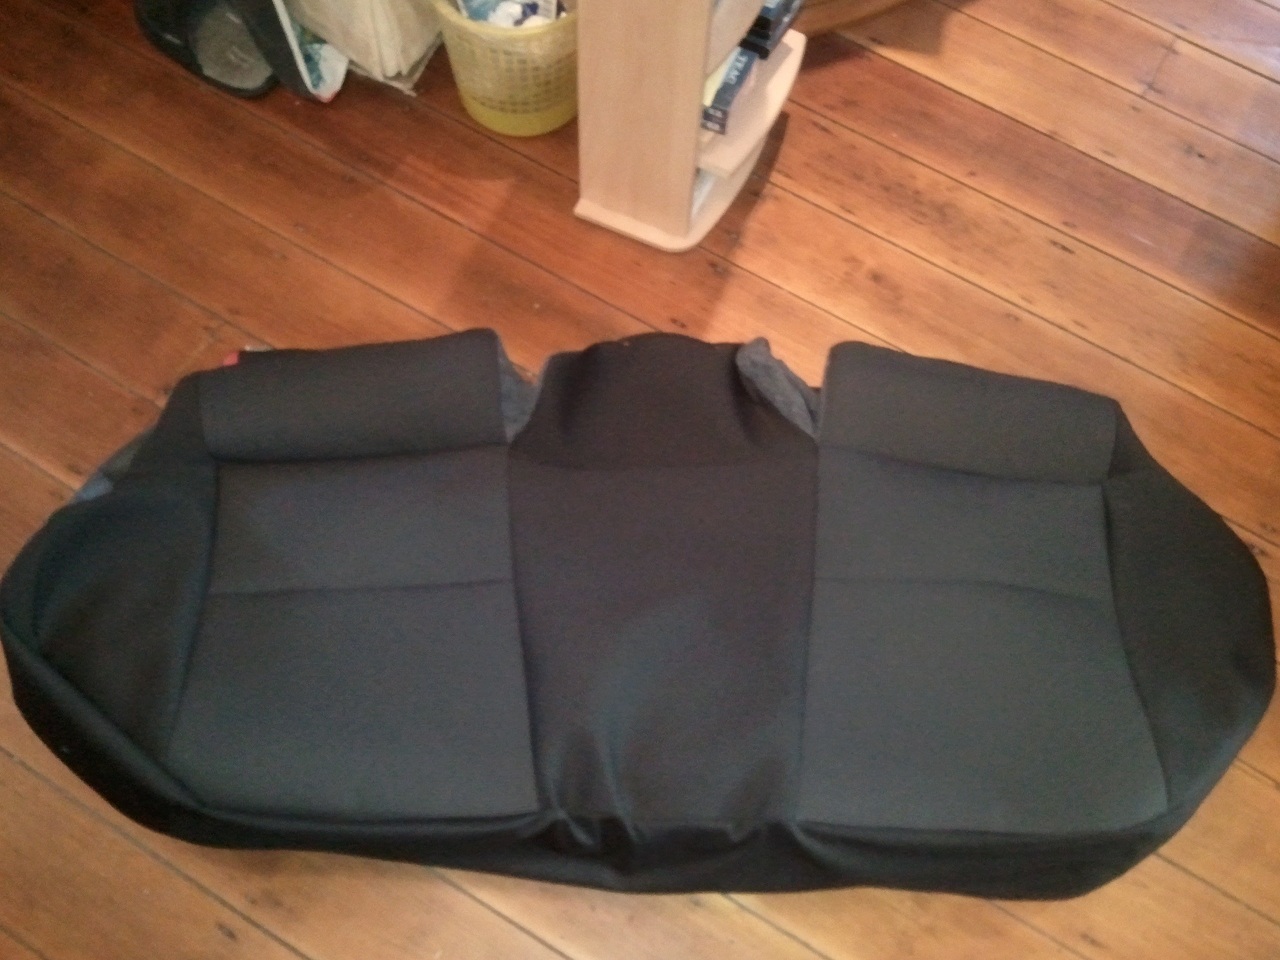
Cloth seat cover taken off:
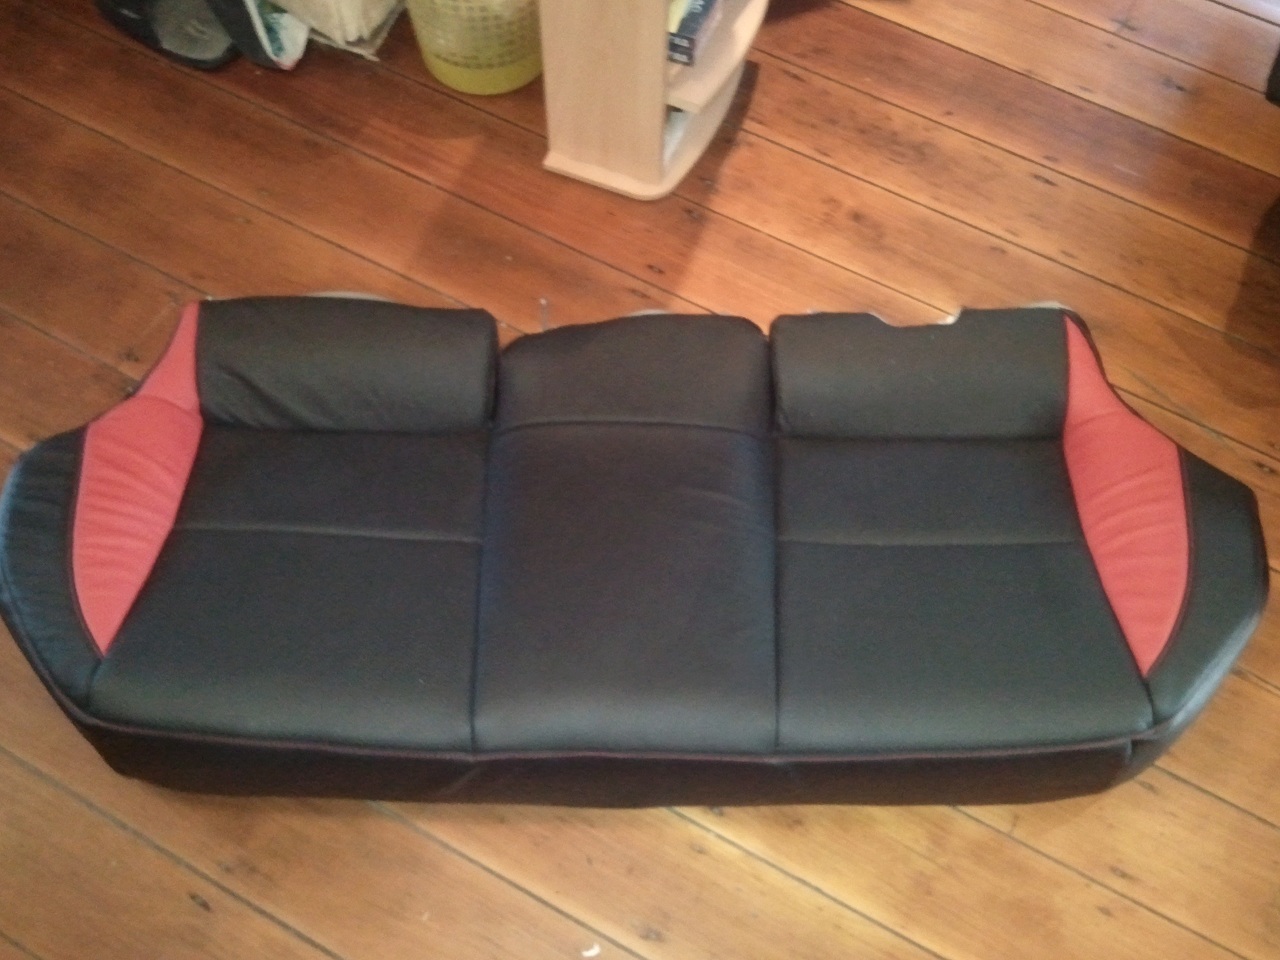
Leather!
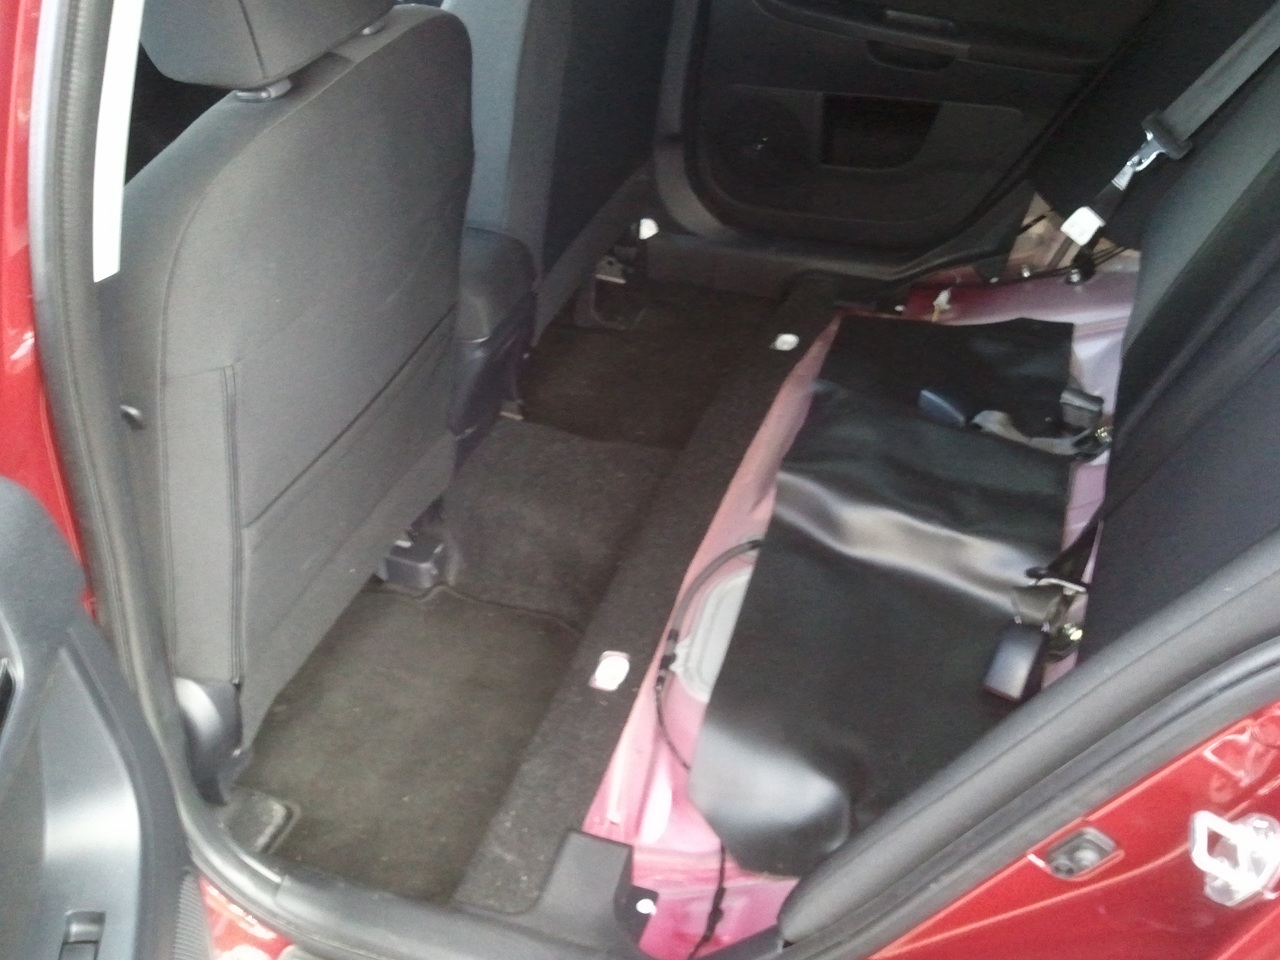
No back seat:
Put back:
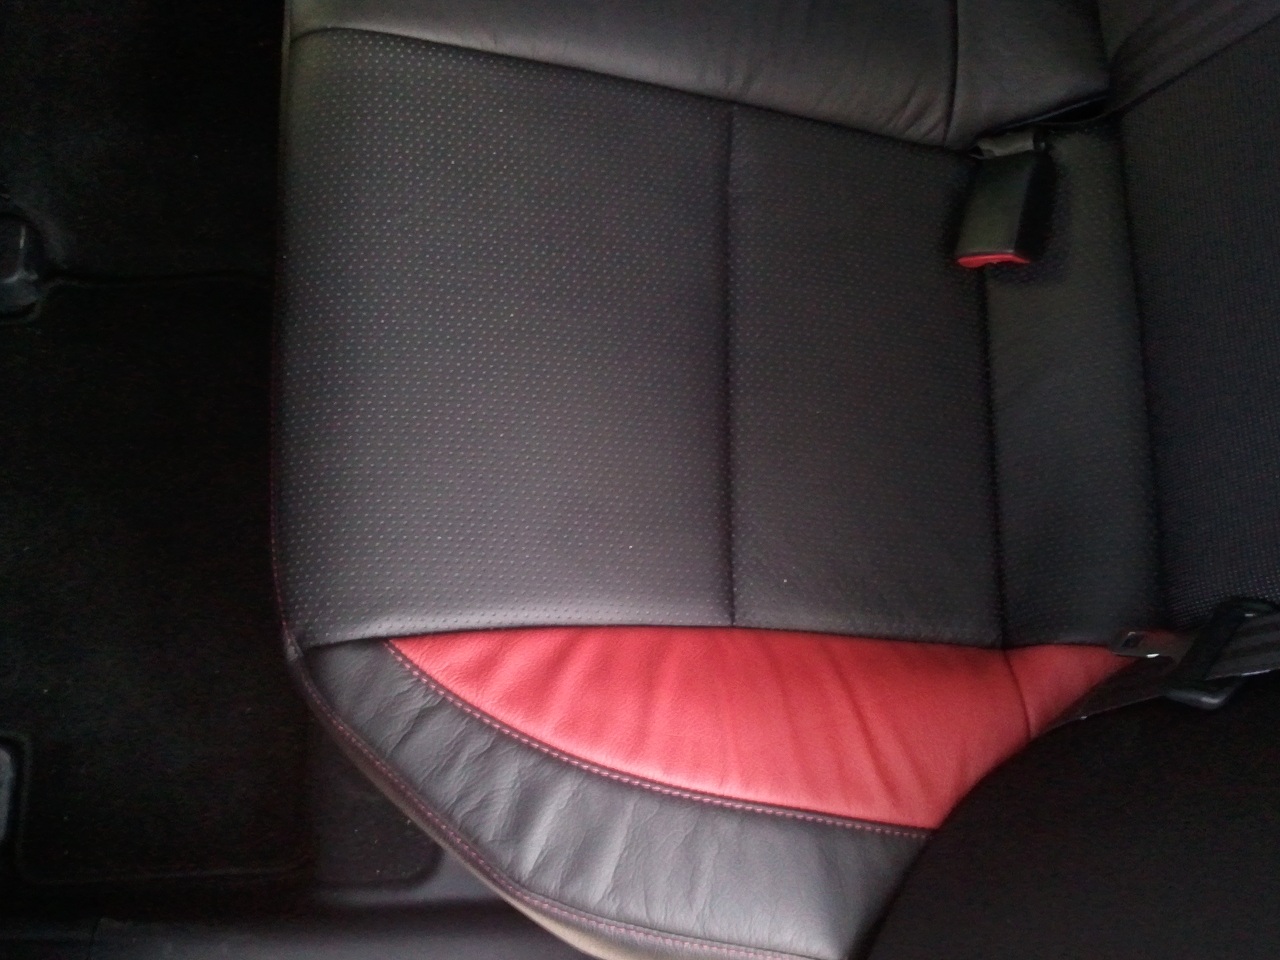
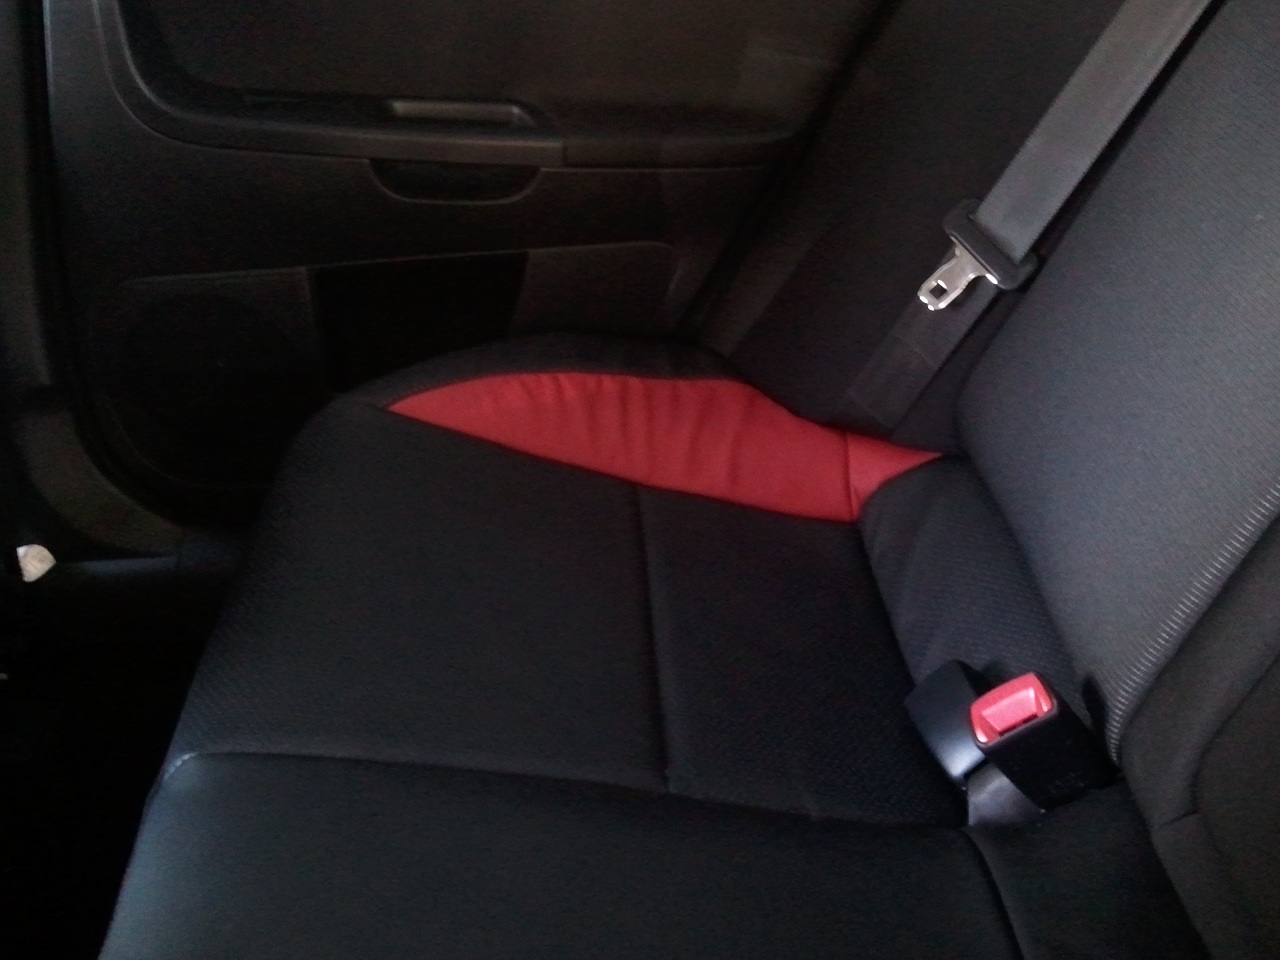
This is going to take many a weekends!
Taking it out was very easy (just 2 clips) and getting all the C clips out was pretty easy too but stretching the leather to make it fit and clipping back took some getting use to. A tip: When re-clipping, one hand for the re-clipping tool and for the other hand, use some pliers to pull the wire close. Otherwise it was pretty straight forward! I'm pretty happy with the way mine turned out!
Cloth seat cover taken off:

Leather!

No back seat:

Put back:


This is going to take many a weekends!
- Alileighju
- Lancer Evolution

- Posts: 823
- Joined: Sun Dec 26, 2010 12:51 am
- Location: Brisbane, QLD, Australia
- ripflare10
- Lancer VRX/GTS

- Posts: 499
- Joined: Thu Dec 30, 2010 7:36 pm
- Location: Kuraby, Queensland
- Contact:
- Alileighju
- Lancer Evolution

- Posts: 823
- Joined: Sun Dec 26, 2010 12:51 am
- Location: Brisbane, QLD, Australia
Return to “Group Buys Service”
Who is online
Users browsing this forum: No registered users and 9 guests


