
As promised, here is the making of a custom CZ4A MR HL.
Parts include:
1. OEM CZ4A MR projector HLs. Sourced from Yahoo Auctions Japan (YAJ)
2. Mitsubishi Starwagon 3" halogen projectors. Sourced from YAH
3. S2000 (AP2) shrouds from HLs. HLs sourced from wreckers
Method & tools to open and seal HLs:
- Heat gun
- Phillips head screw driver
- Large flat head screw driver
Lets get to the pix:
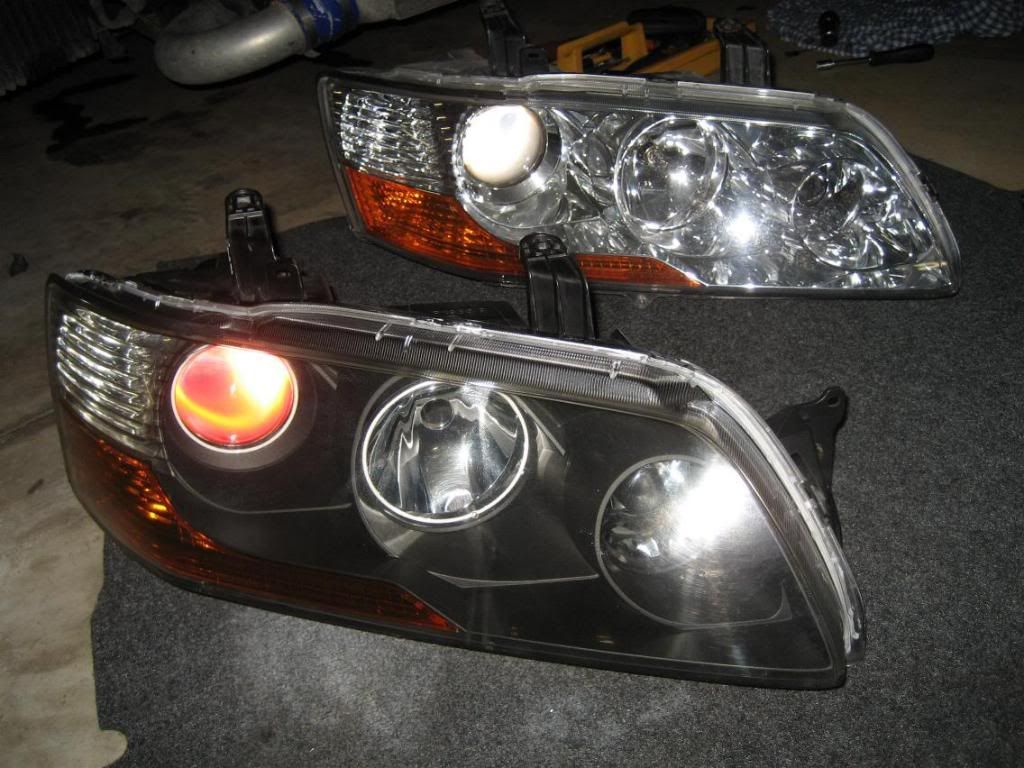
MR's pulled apart. Gees, how many parts


This pic shows:
* 3" CZ4A projector lense on the left
* 3" Mitsubishi Starwagon (early 90's model) projector lense on the right. Theres quite a difference in projector height. Why have I made the comparison?

You can see the CZ4A lense with fine indents on the surface. This is designed to "blur" the edge of the light output and make it easier for on comming traffic.

You can see the Mitsubishi Starwagon lense is super smooth. This will make the edge of the beam pattern nice and sharp. I will be using these babies and ditching the OEM CZ4A lenses.

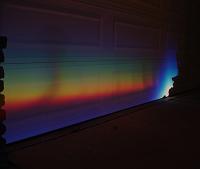
OEM CZ4A lense output:

Swapping out the OEM lense for the "clear" Mitsu Starwagon lense:

CZ4A Bi-Xenon projector. You will notice that the cutoff shield "Steps" up to the right, meaning it is designed for Right Hand Drive conditions. Finding this out pissed me right off. Now I have to modify it to "Step" up to the Left for Left Hand Drive conditions. More bloody work


Cut off shield in "Low Beam" position.

Cut off shield in "High Beam" position thanks to the movement of the solenoid. The cut off shield actually comes down further. The sticky tape wasnt doing a good enough job.

The front of the CZ4A projector has been divided into 2. In order to modify the light output for more bling I didnt have a choice but to Dremel this piece.

* The Mitsu Starwagon 3" lense mated to the CZ4A lense holder.
* The ditched CZ4A 3" lense on the right.

The Mitsu Starwagon lense is slightly larger and had to be trimmed with an angle grinder. This resulted in chips along the edging. Luckily it will not be noticable:
* once the project is finished
and
* in the light output.

2nd UPDATE: 22/04/2010
How will a can of NITRO help with my project?

Now I have fabricated some brackets to hold the lense together.


NITRO can cut up. Will be using this to create a SHIELD infront of ALL 4 projectors. These will be painted white to give a "White" looking projector. I have a few tricks up my sleeve with the final result of this mod
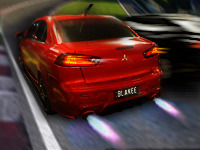
An example of a "RED" looking projector can be seen on this Evo VII - IX headlight:
http://i264.photobucket.com/albums/ii19 ... G_5095.jpg

A template of the shield that I will cut out

The shield almost complete. Still requiring a few more bends then a coat of white paint

Using a pair of S2000 (AP2) shrouds to cover up the 2nd projectors.


I had to dremel away at the top of the housing to fit the S2K shroud. I was surprised at the minimal dremelling required to make it fit


The gaps around the S2K shrouds are noticable but once the black paint kicks in it should reduce some of that visibility.


Painting stage

Shields for the projectors

Indicator housing

Parker housing

Lense holders for the 2nd projector

S2000 shouds to cover up the 2nd projectors. Shown with white rings but eventually went ALL black

DRL housing to fit the 2nd projectors

Internal housing. Rings painted white but eventually decided to go ALL black


These puppies are finished


Headlights on the car


Thanks for looking


