***** ALERT - Nominations for your new ClubCJ Committee can be made here *****

SSP Aluminium Underpanel Fit Up

Start a Topic! Have Your Say & Talk About Anything.

Moderators: Moderators, Senior Moderators

User avatar
lancerdarryl
Lancer MASTER
Lancer MASTER
Posts: 1929
Joined: Wed Jul 14, 2010 3:10 am
Location: Newcastle NSW Australia

SSP Aluminium Underpanel Fit Up

Postby lancerdarryl » Sat Feb 22, 2014 4:00 pm

Fitted up the underpanel today.Took about 2 hrs all up including removal of the plastic panel and a bit of claeaning around the bottom of the engine.
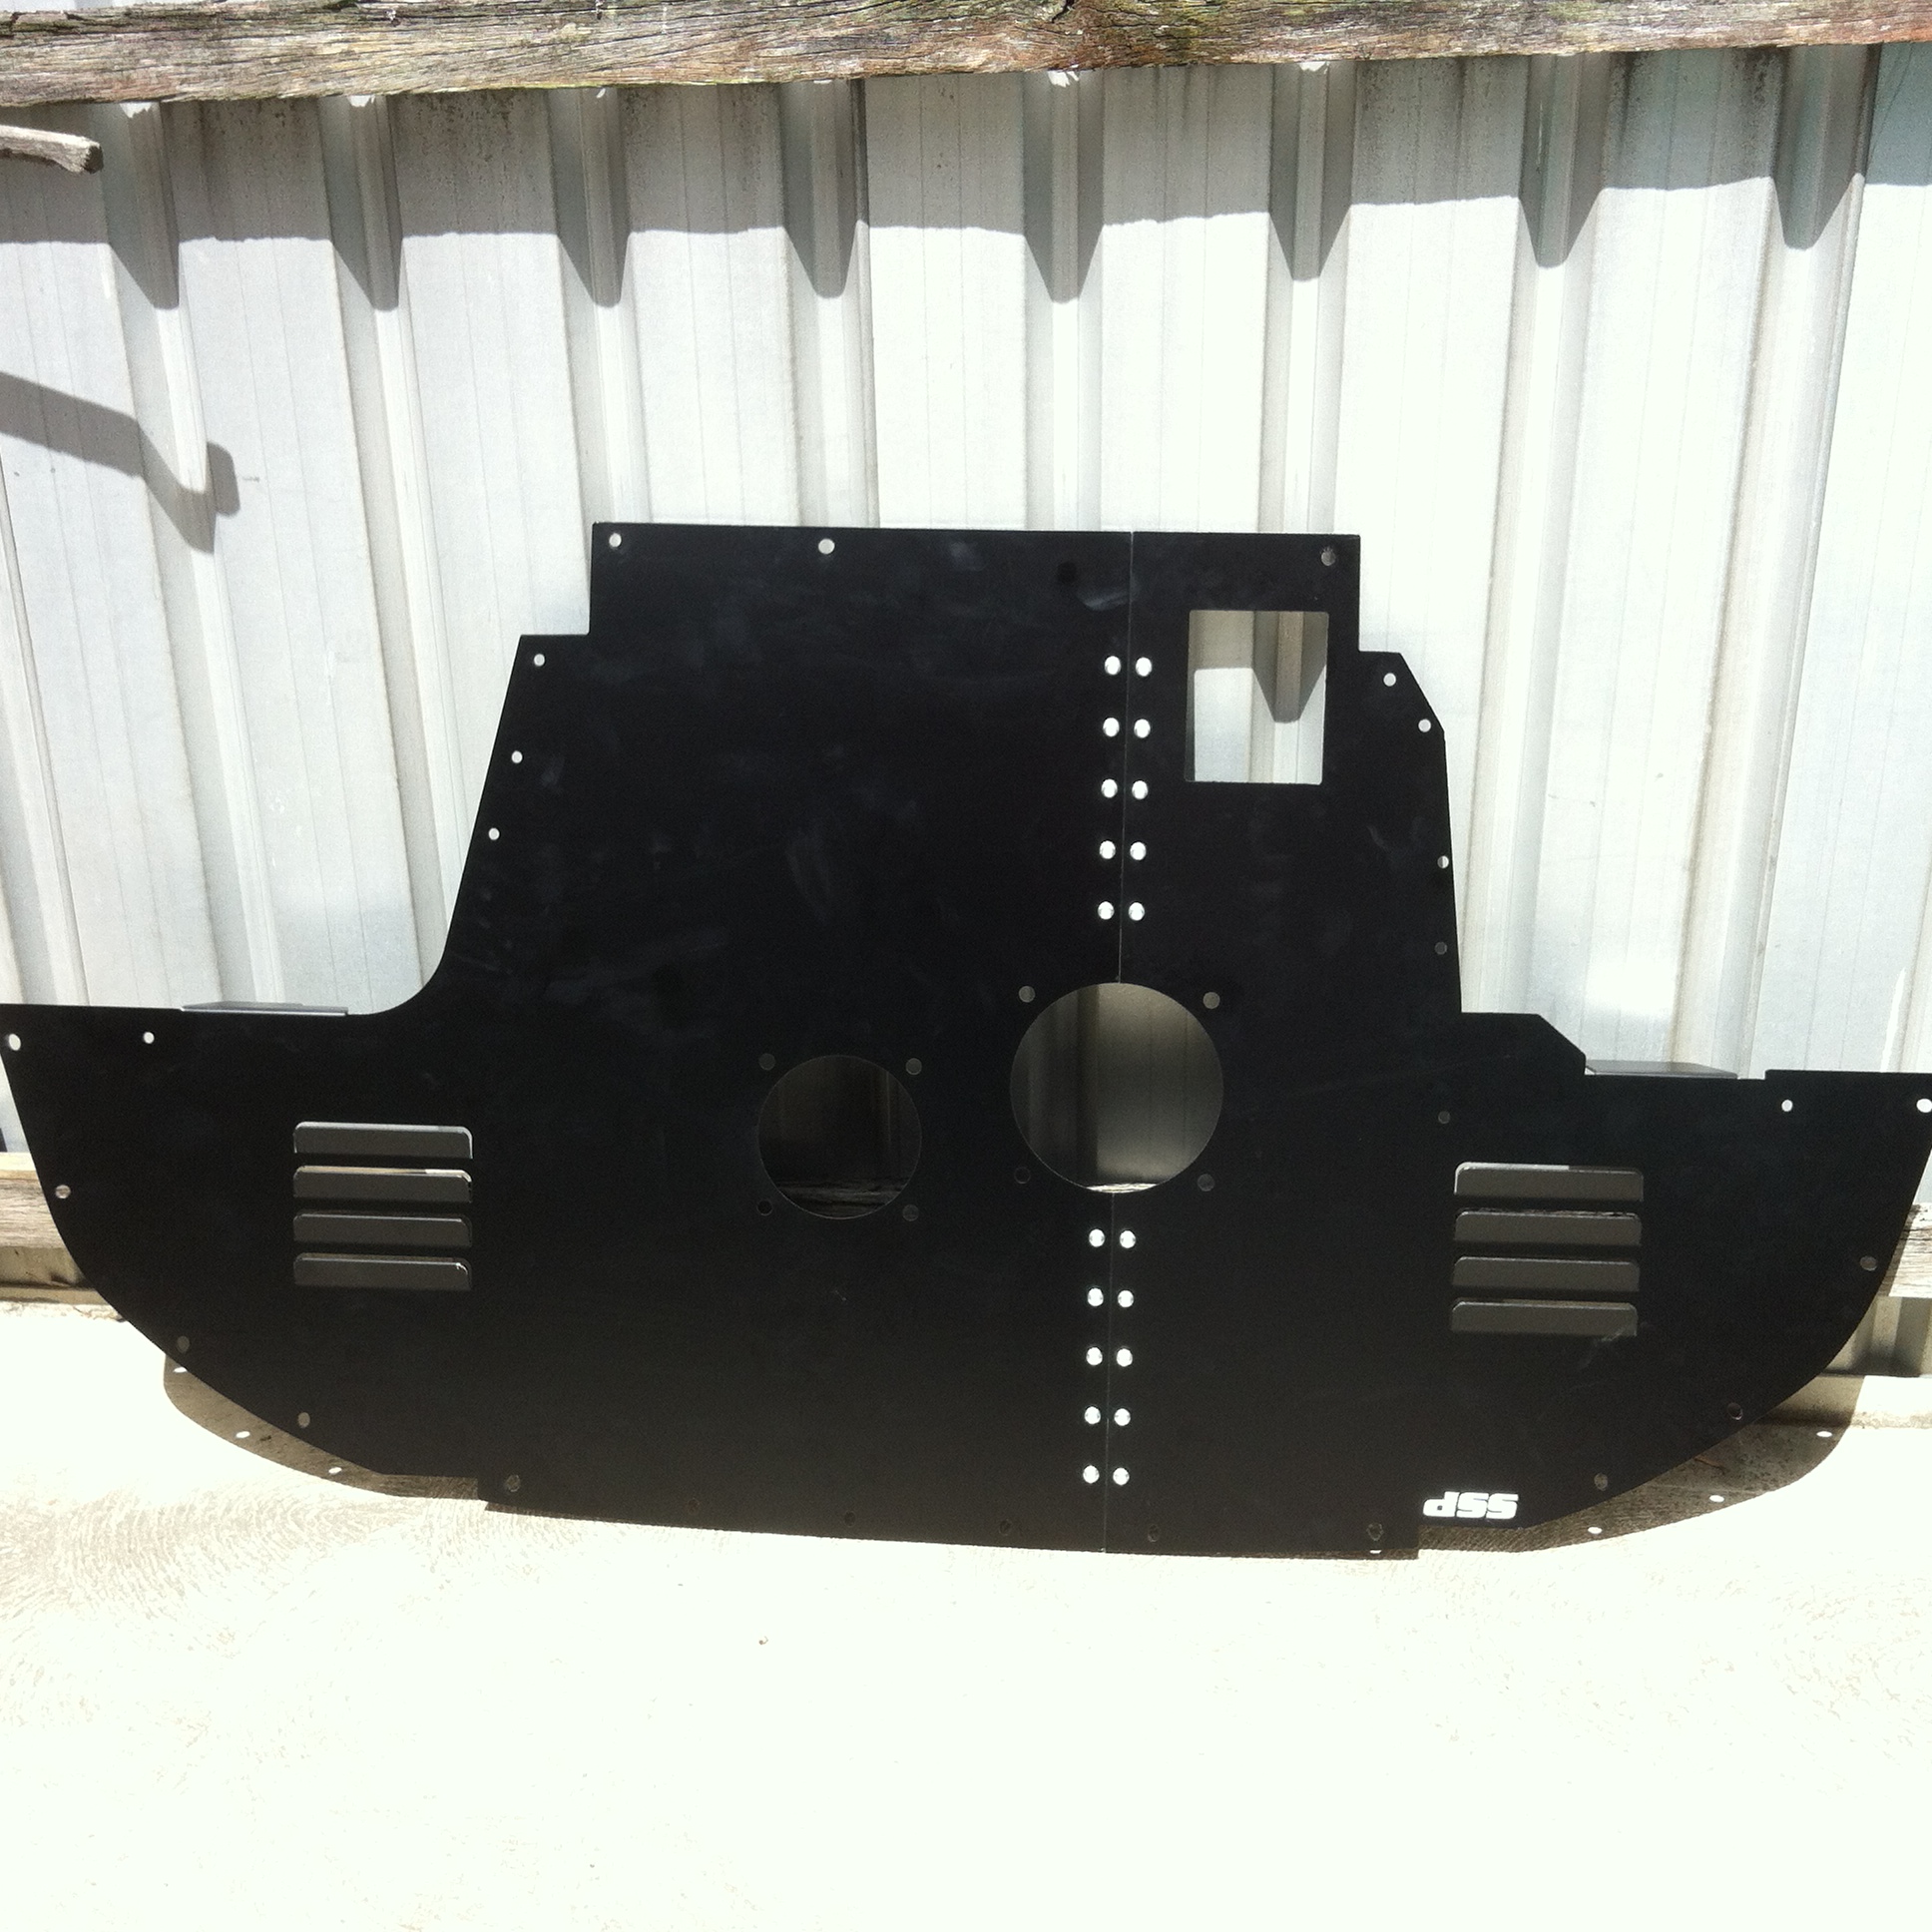
A few things to look out for At the rear of the engine there is a brace which you need to remove.This needs to be bolted back on over the underpanel ie lift the underpanel into position then put the brace on.You will need to put two flat washers between the K frame and the underpanel because that mount is slightly higher than the other two,Image
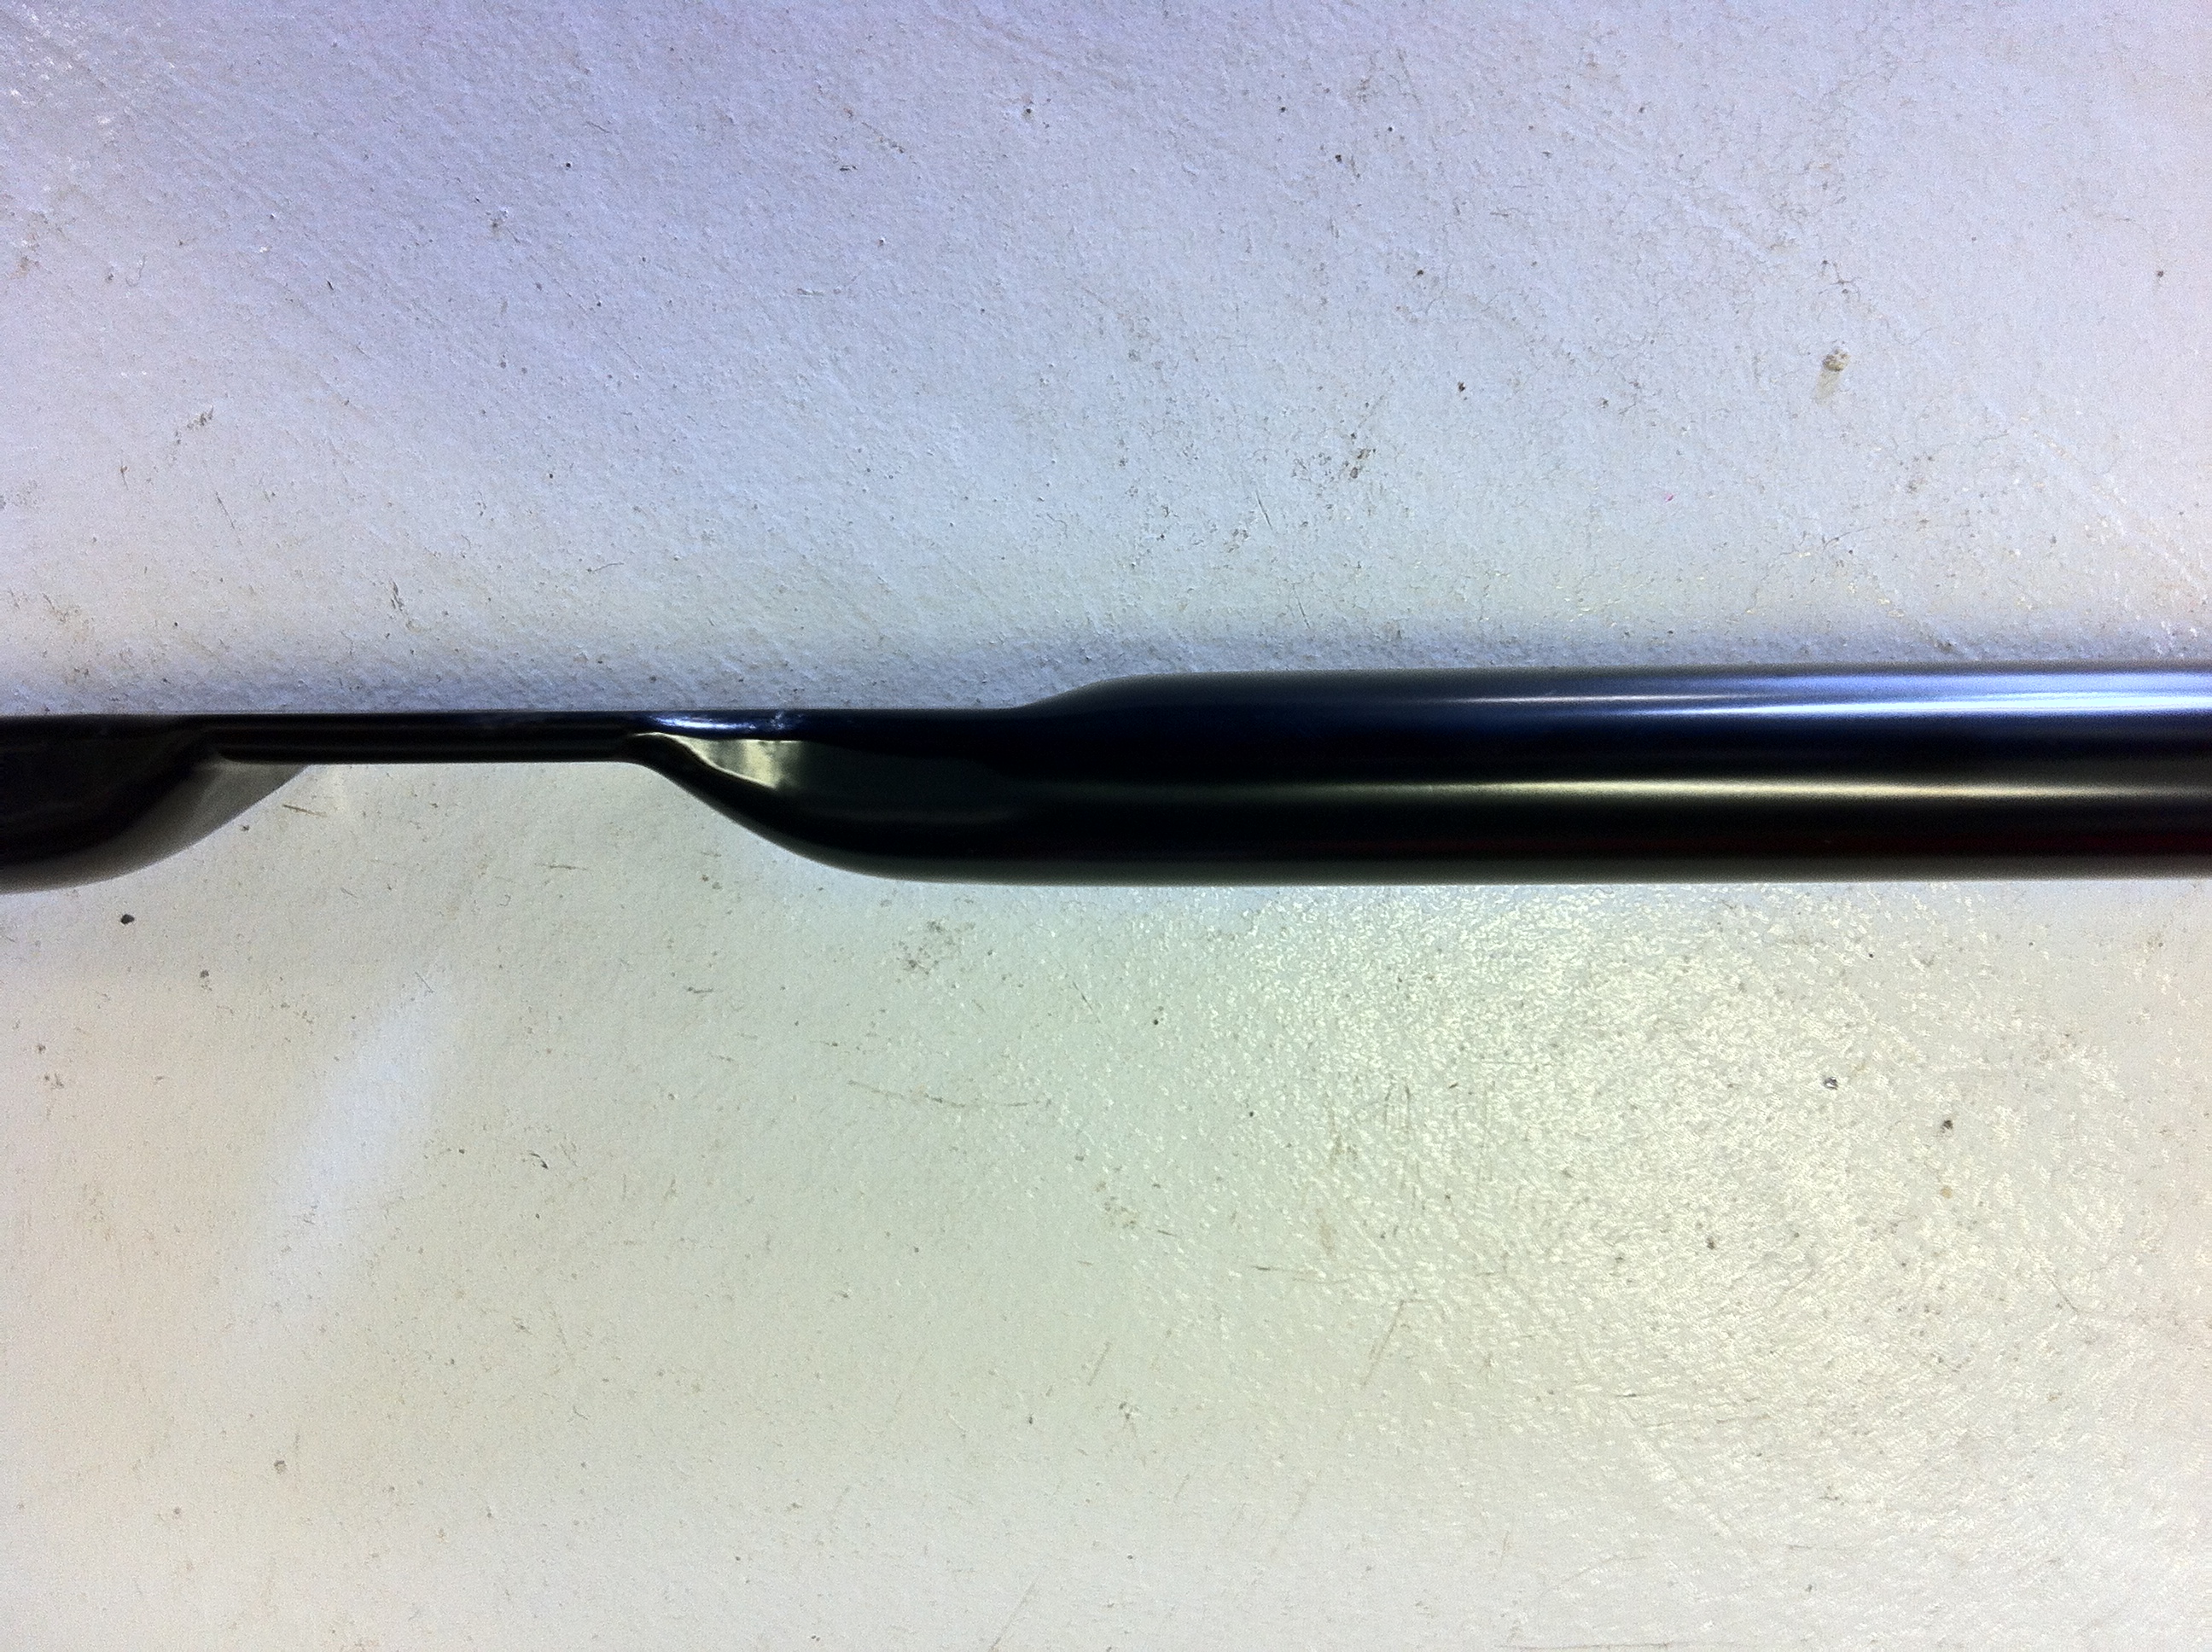
Next the plastic panels on the side that bolt into the underpanel have about a 25mm gap between them,you can stick you hand in from the back and gently push them down to get the bolts in.It looks ugly to start with but they tighten up OKImage
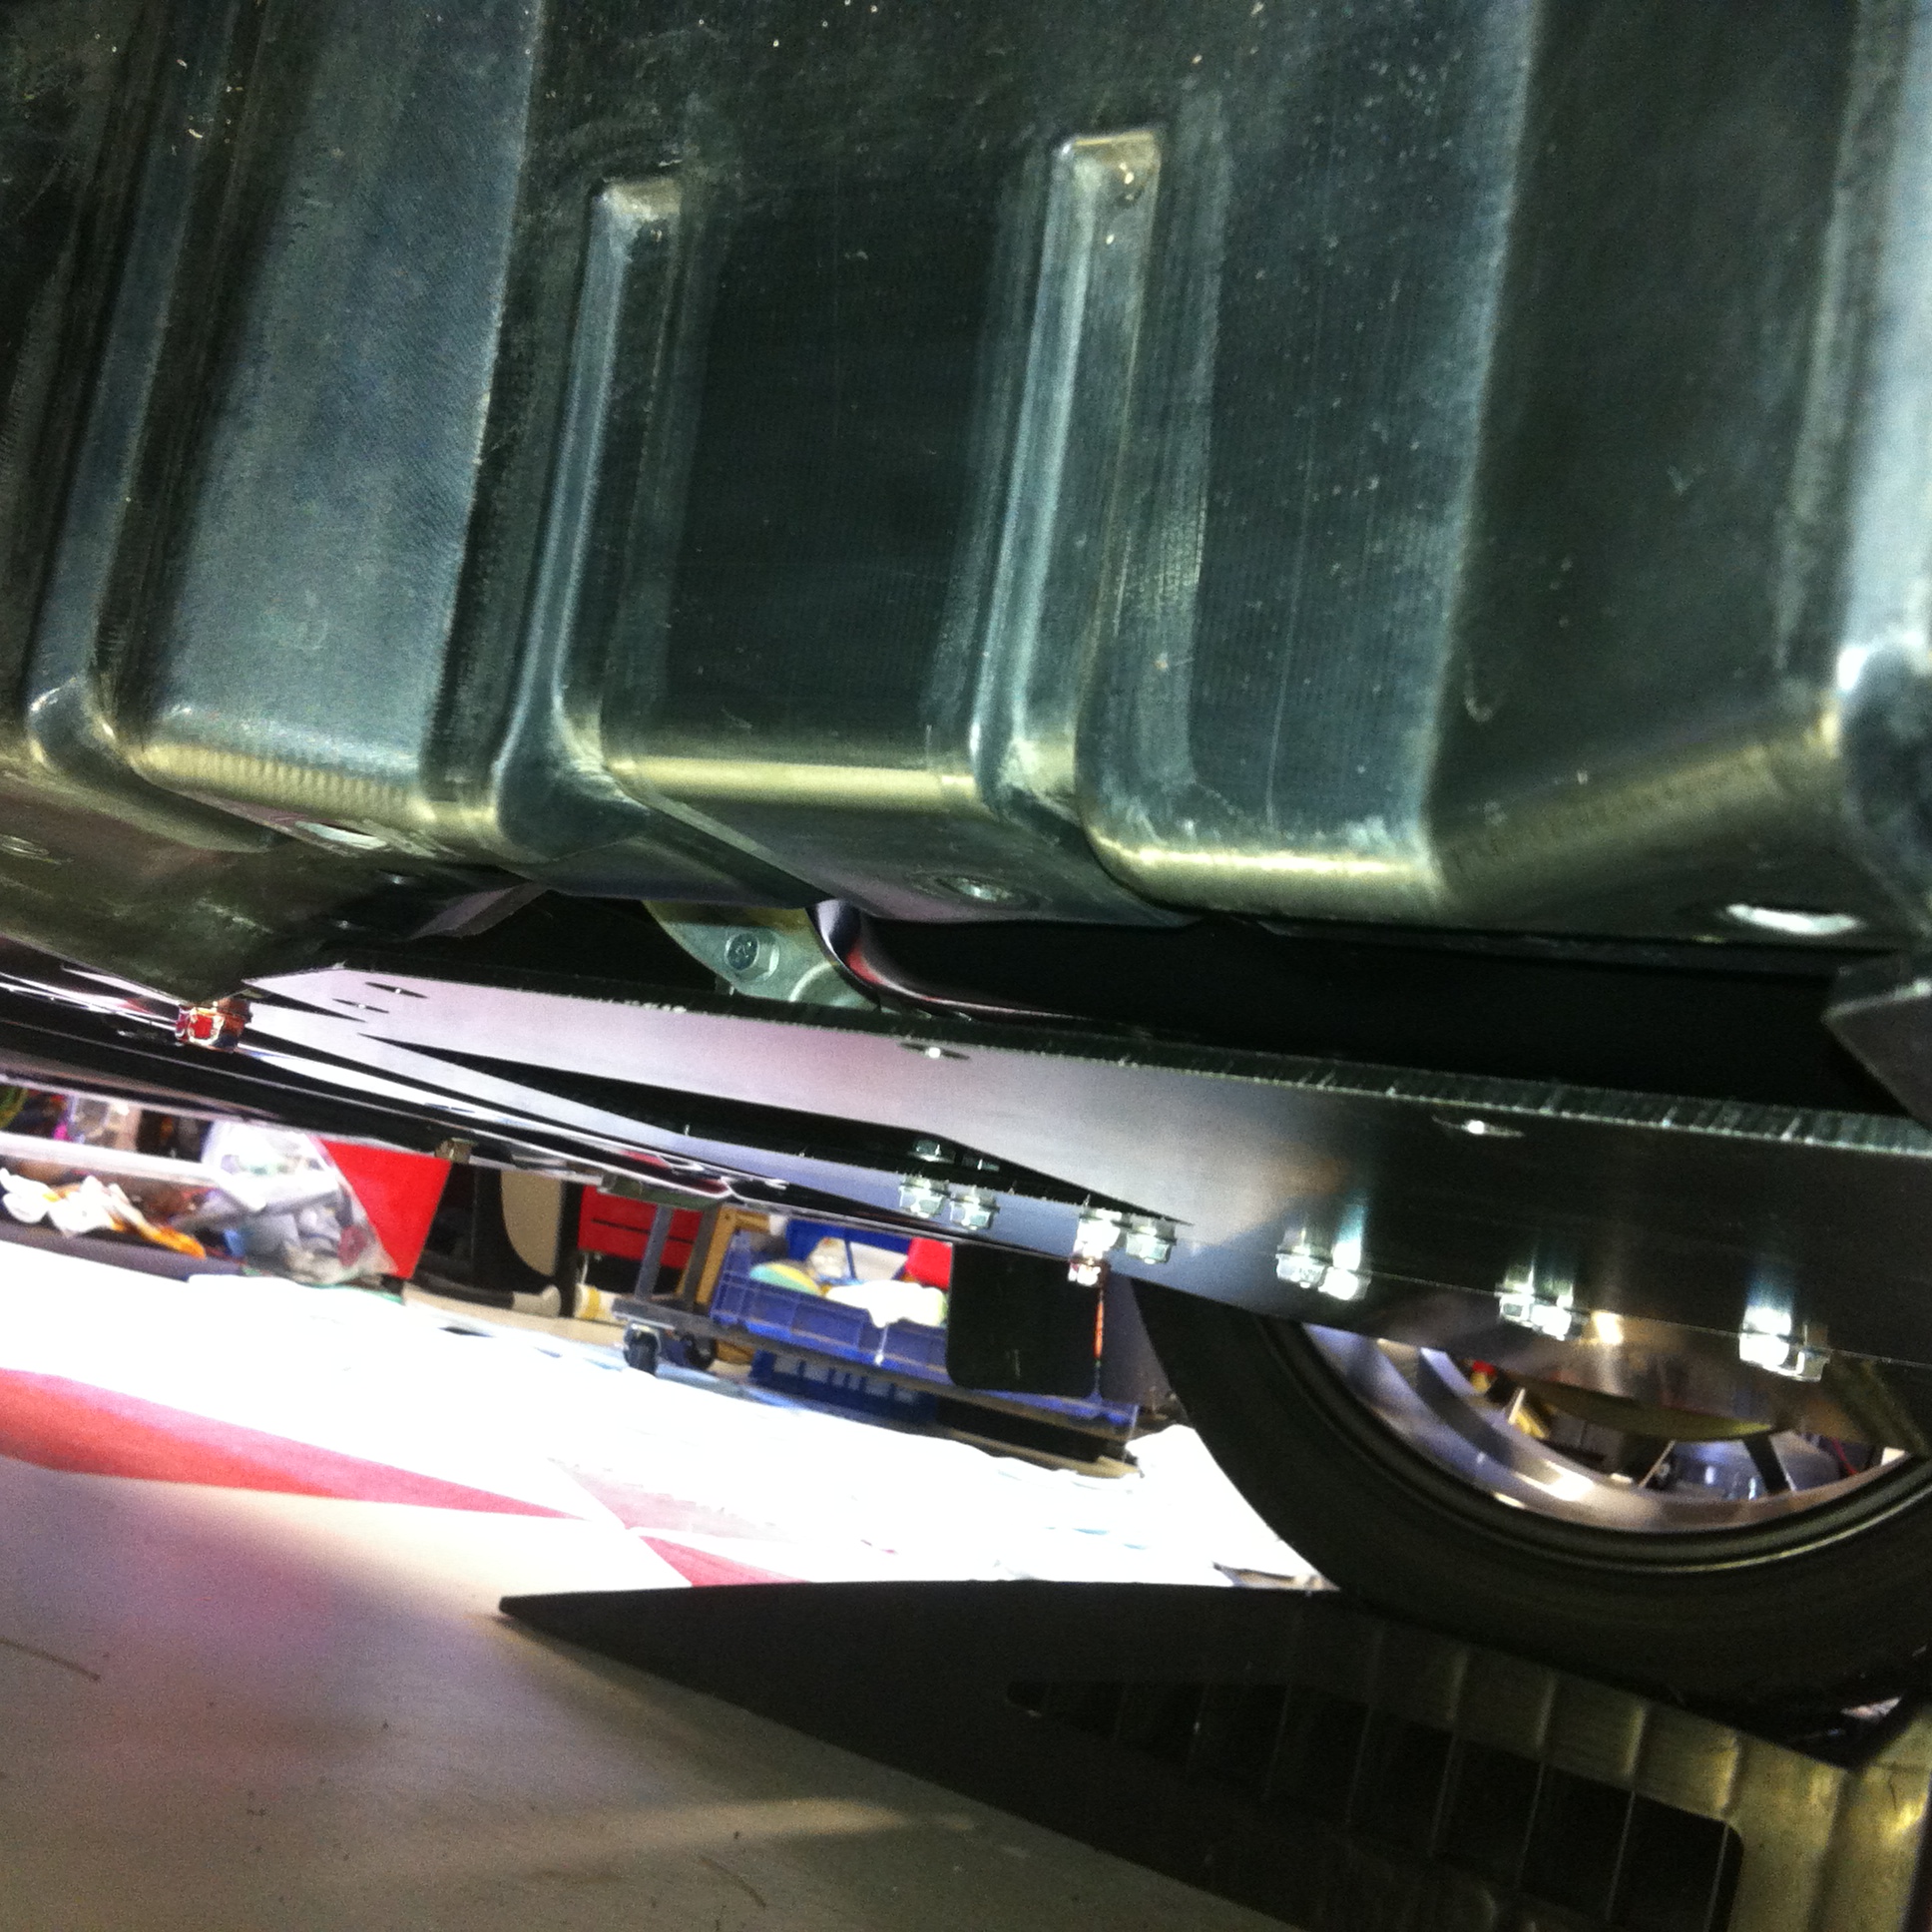
When you get all the bolts in (a bit fiddley) Tighten the 3 rear 8mm bolts at the rear first.This gives you a good straight starting point to align everything else.Next tighten 4 of the 6mm bolts at the centre front then pick one side and start to tighten up from the front centre around towards the wheels.Finally tighten the 6mm bolts that bring the underpanel and the side plastic panels together.Take your time and keep adjusting as you go and you will end up with a pretty good fit.
One other thing I just thought of make sure when you bolt the two halves together fully tighten the bolts BEFORE you fit the underpanel they arehard to get at when it is in place. Image
Evolution X MR+ Lancer VRX Sportback +LA Lancer GSR
"Don't back off until you hit something"

User avatar
SIX
Post Monster
Post Monster
Posts: 3251
Joined: Fri Nov 16, 2012 9:44 pm
Location: Northern Adelaide

Postby SIX » Sat Feb 22, 2014 7:37 pm

looks great !!!
1998 MR lancer
2009 CJ lancer sportback
2011 Renault Sport RS250 Trophee Cup
2000 Tommi Makenin Evolution 6.5

User avatar
Zaphod
Lancer MASTER
Lancer MASTER
Posts: 2357
Joined: Sat Jan 04, 2014 7:28 am
Location: Gold Coast, Qld. Australia

Postby Zaphod » Sun Feb 23, 2014 9:06 am

Nice!

Why did you decide to do it?

Will it cause any hassle during routine servicing?

How much & where from?

:-)
"The Human species has now evolved to the point where we only have two natural predators; ourselves and peanuts..."

Image

User avatar
sleeper
Alumni
Alumni
Posts: 8259
Joined: Fri Apr 23, 2010 10:14 am
Location: brisbane
Contact:

Postby sleeper » Sun Feb 23, 2014 9:37 am

210 KWATW 400nm RALLIART Virtual Dyno 1/1
http://goo.gl/GrUosm


Image

User avatar
lancerdarryl
Lancer MASTER
Lancer MASTER
Posts: 1929
Joined: Wed Jul 14, 2010 3:10 am
Location: Newcastle NSW Australia

Postby lancerdarryl » Sun Feb 23, 2014 9:39 am

Zaphod wrote:Nice! Why did you decide to do it? Will it cause any hassle during routine servicing? How much & where from? :-)

Decided to change it to something a bit more robust.It has two removable panels to access the oil filter and the jacking point.We bought them from DSG just recently as a group buy,all up the cost was about $550 plus a buttload of hassle for Ofey with shipping and Taxes!
Evolution X MR+ Lancer VRX Sportback +LA Lancer GSR

"Don't back off until you hit something"


Return to “General Talk”

Who is online

Users browsing this forum: No registered users and 38 guests