***** ALERT - Nominations for your new ClubCJ Committee can be made here *****
BodyKits Kingdom VRX AirDam
Moderators: Moderators, Senior Moderators
- BR14AN
- Lancer Ralliart
- Posts: 650
- Joined: Thu Jan 21, 2010 10:53 pm
- Location: Cherrybrook, NSW
- Contact:
BodyKits Kingdom VRX AirDam
Hi there,
I had a couple people interested how these VRX AirDams made by BodyKits Kingdom were in terms of quality, fitment etc.
This is by no means an advertisement or me trying to boost sales, just giving my feedback on it.
I purchased these for $120 including free express shipping, it took 2 days to get from Sunnybank QLD to Sydney. Packaging was very good - no way it could get damaged.
Here is a link to the eBay page:
http://www.ebay.com.au/itm/140730837232 ... 1497.l2649
I ordered them unpainted but my friend and I will paint them (he is really good with this stuff) and should cost about $50 inc paint, paper etc. I will post this up aswell as it goes.
Here are some pics of the product fresh out of the packaging:
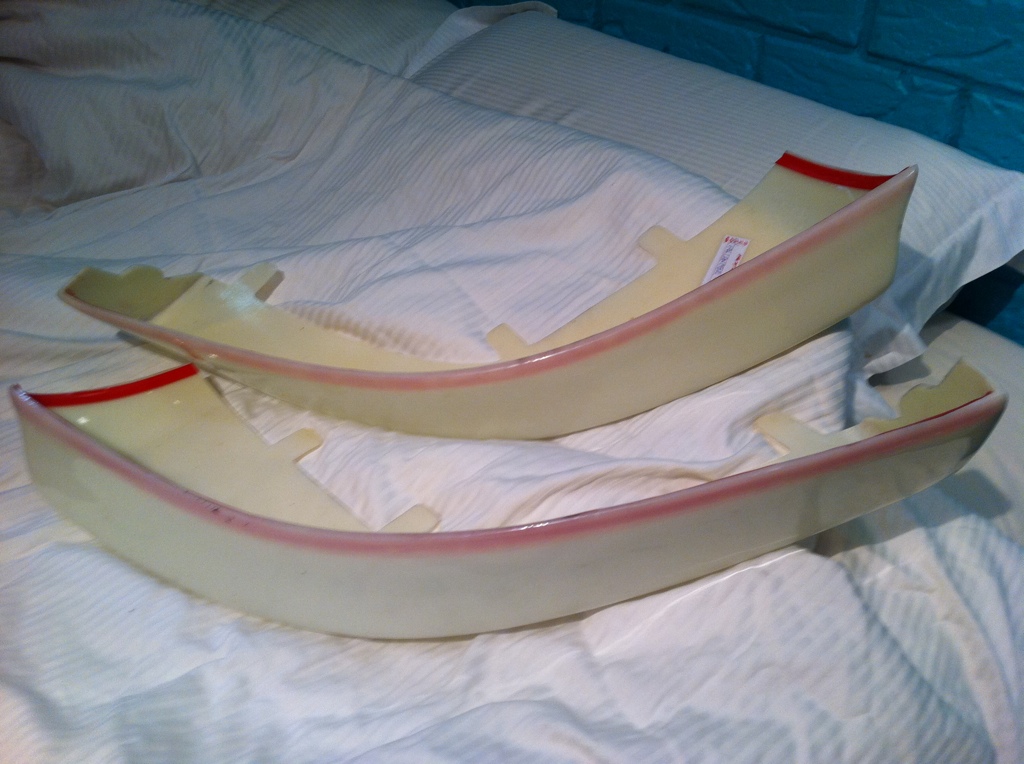
As you can see it has double sided tape already on it, only time will tell if this is sufficient enough or if extra methods will be needed for a tight secure fit.
I did a quick test fit, so far it looks pretty good - ABS plastic is ususally good for fitment and can always be worked on with a heat gun.
And a close up of the gap (mind you this is just held on by those tabs of tape)
Will have these painted and fitted in the next couple of weeks, I will post up progress and finish product to give a final overview. Hopefully this helps anyone looking into purchasing this product.
Thanks,
Brian
I had a couple people interested how these VRX AirDams made by BodyKits Kingdom were in terms of quality, fitment etc.
This is by no means an advertisement or me trying to boost sales, just giving my feedback on it.
I purchased these for $120 including free express shipping, it took 2 days to get from Sunnybank QLD to Sydney. Packaging was very good - no way it could get damaged.
Here is a link to the eBay page:
http://www.ebay.com.au/itm/140730837232 ... 1497.l2649
I ordered them unpainted but my friend and I will paint them (he is really good with this stuff) and should cost about $50 inc paint, paper etc. I will post this up aswell as it goes.
Here are some pics of the product fresh out of the packaging:
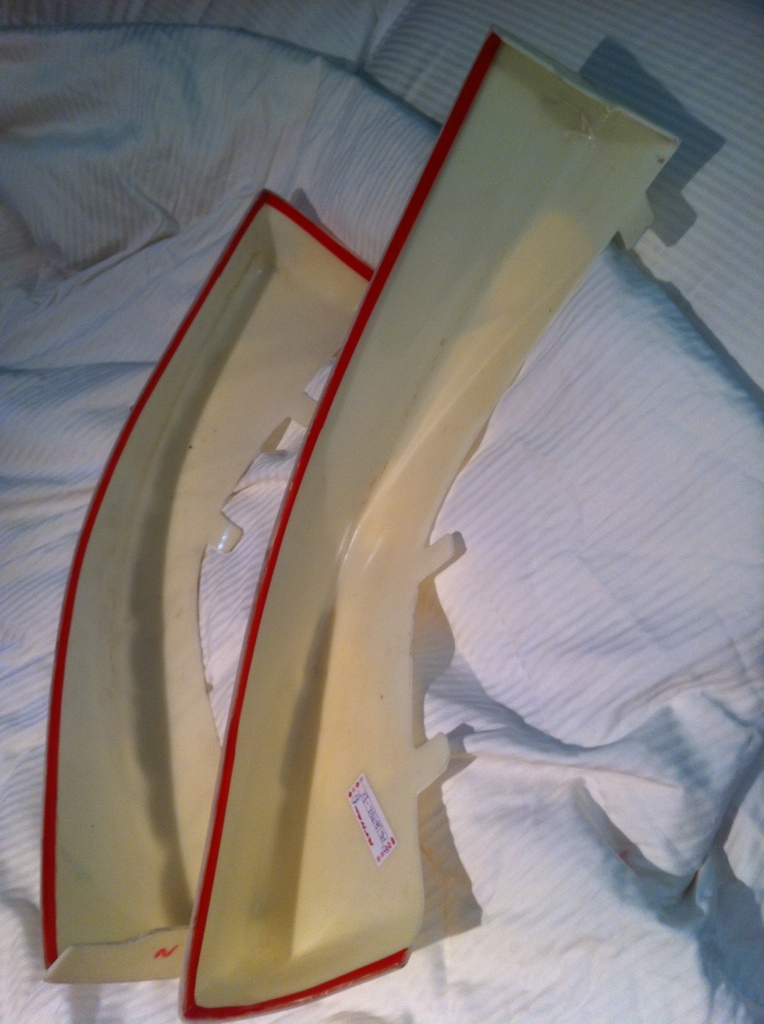
As you can see it has double sided tape already on it, only time will tell if this is sufficient enough or if extra methods will be needed for a tight secure fit.
I did a quick test fit, so far it looks pretty good - ABS plastic is ususally good for fitment and can always be worked on with a heat gun.
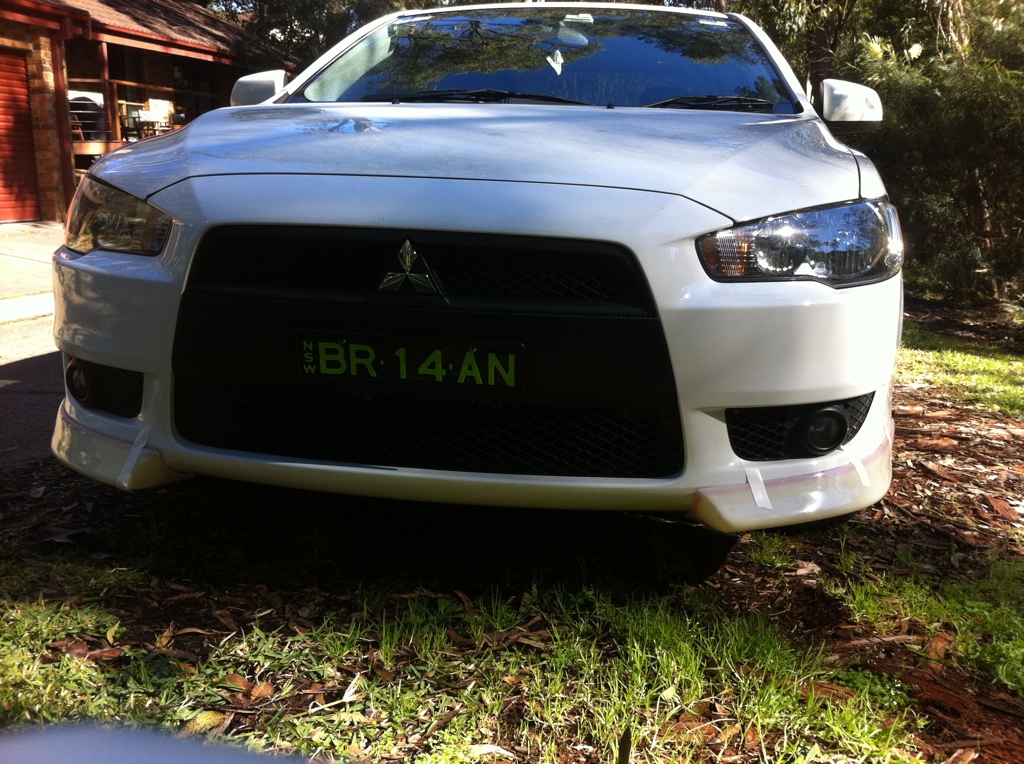
And a close up of the gap (mind you this is just held on by those tabs of tape)
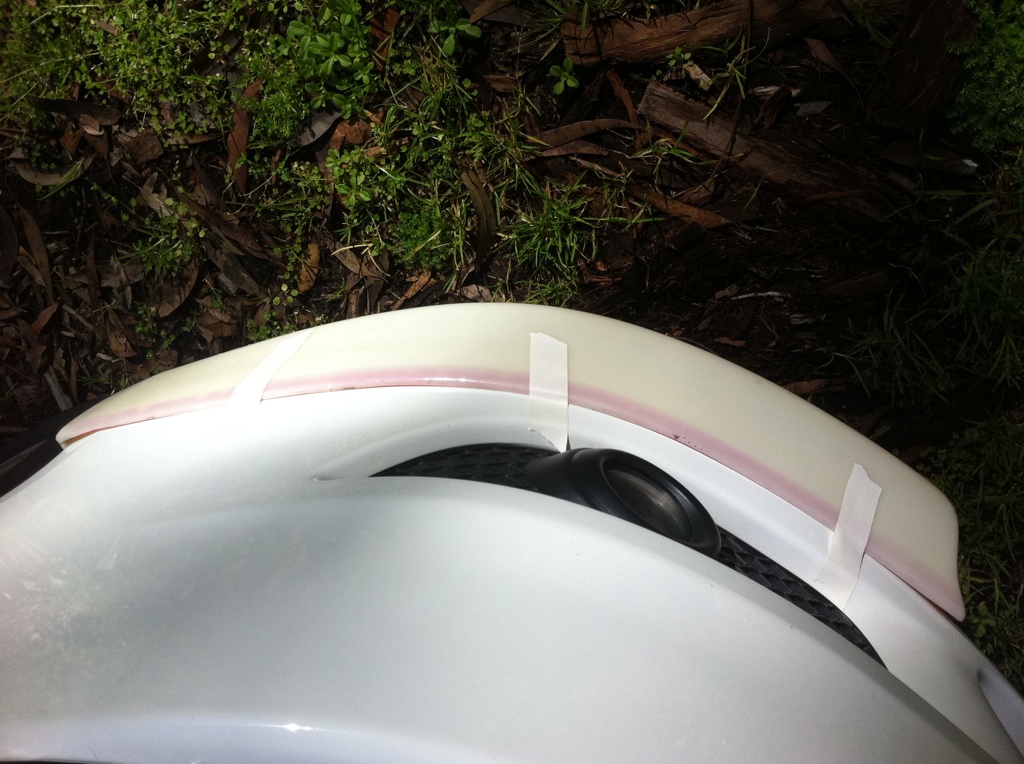
Will have these painted and fitted in the next couple of weeks, I will post up progress and finish product to give a final overview. Hopefully this helps anyone looking into purchasing this product.
Thanks,
Brian
- BR14AN
- Lancer Ralliart
- Posts: 650
- Joined: Thu Jan 21, 2010 10:53 pm
- Location: Cherrybrook, NSW
- Contact:
All right so, worked hard today. This is the way I have done it, you mighten agree or think there is a better way but the results speak for themselves.
What you need;
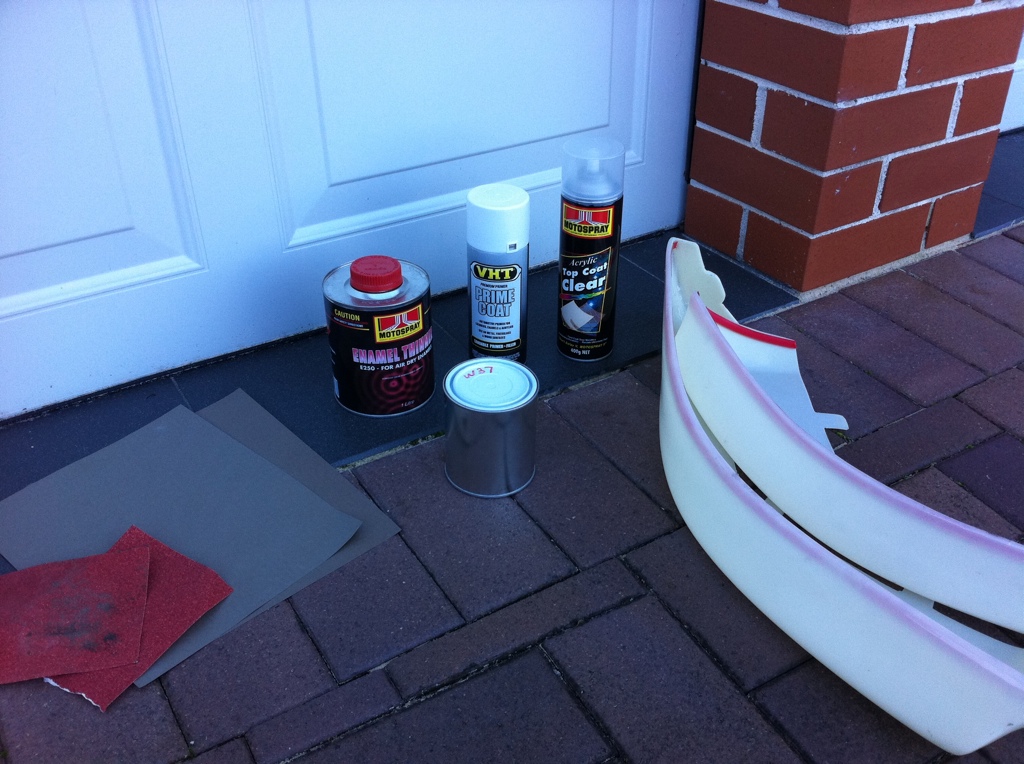
-The AirDams
-Wax and Grease remover or methylated spirits
-Paint in your code ( I got 250ML but a standard spray can should be plenty enough)
-Primer
-Clear Coat
-Sand paper = 200, 800, 1500
-Thinners (if mixing and spraying - cans do not need this)
-Spray Gun (if not using cans)
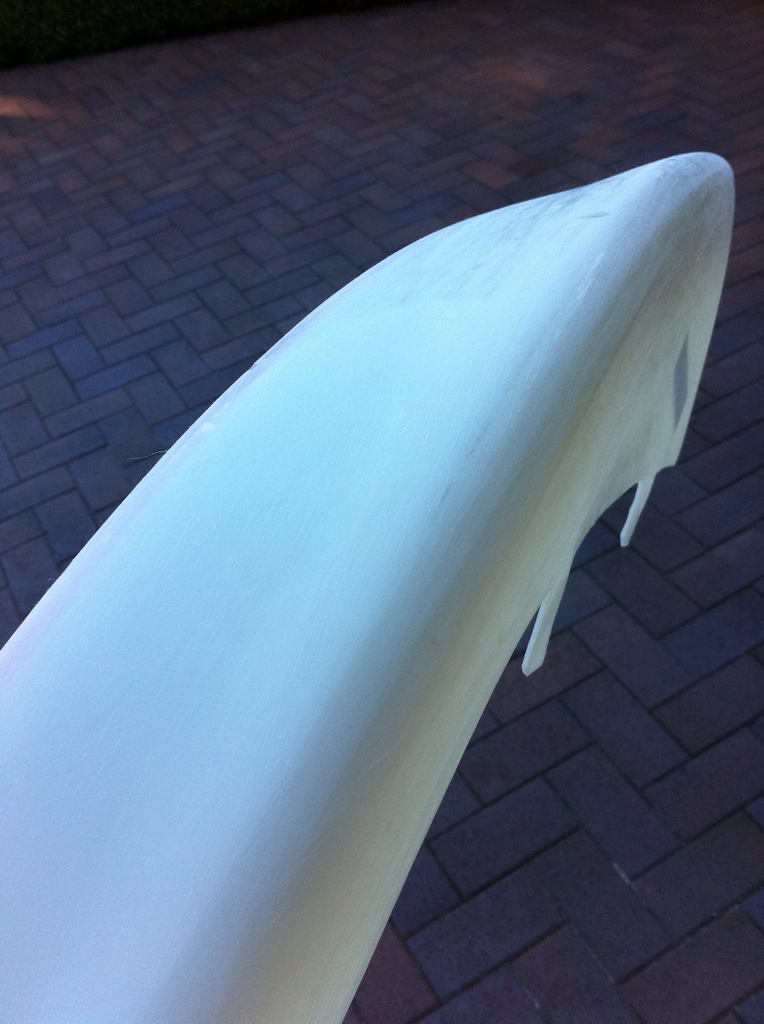
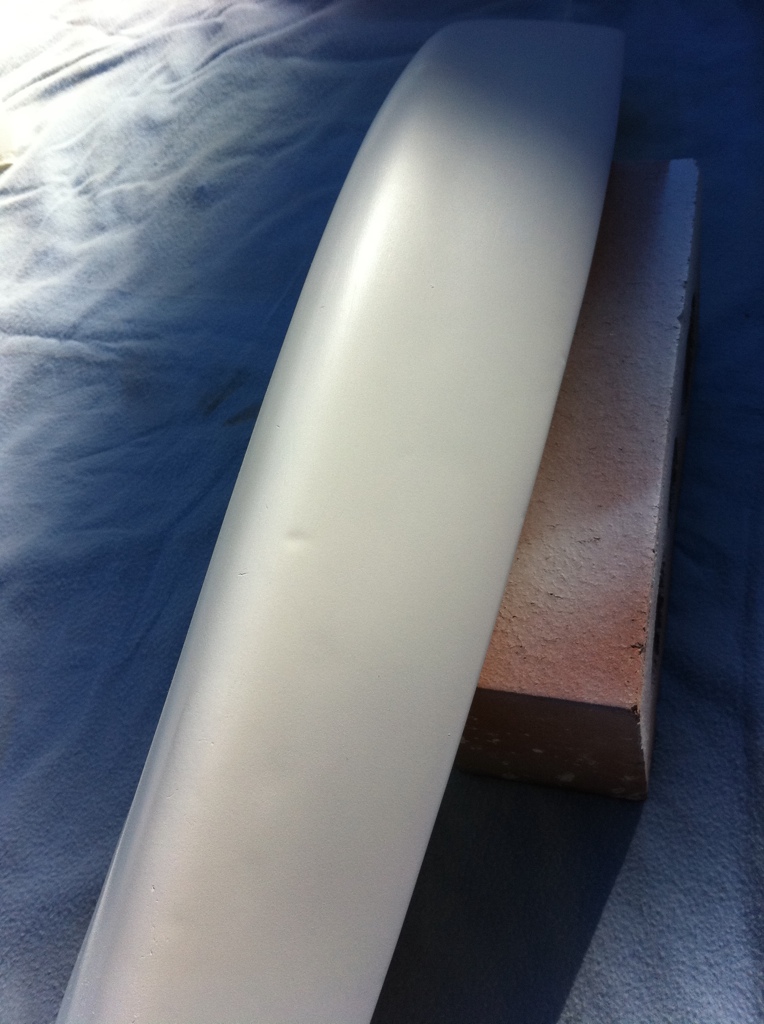
1.
Sand your airdams with 200grit so that it is no longer smooth, this is so the primer has something to latch on to. Should look along the lines of this:
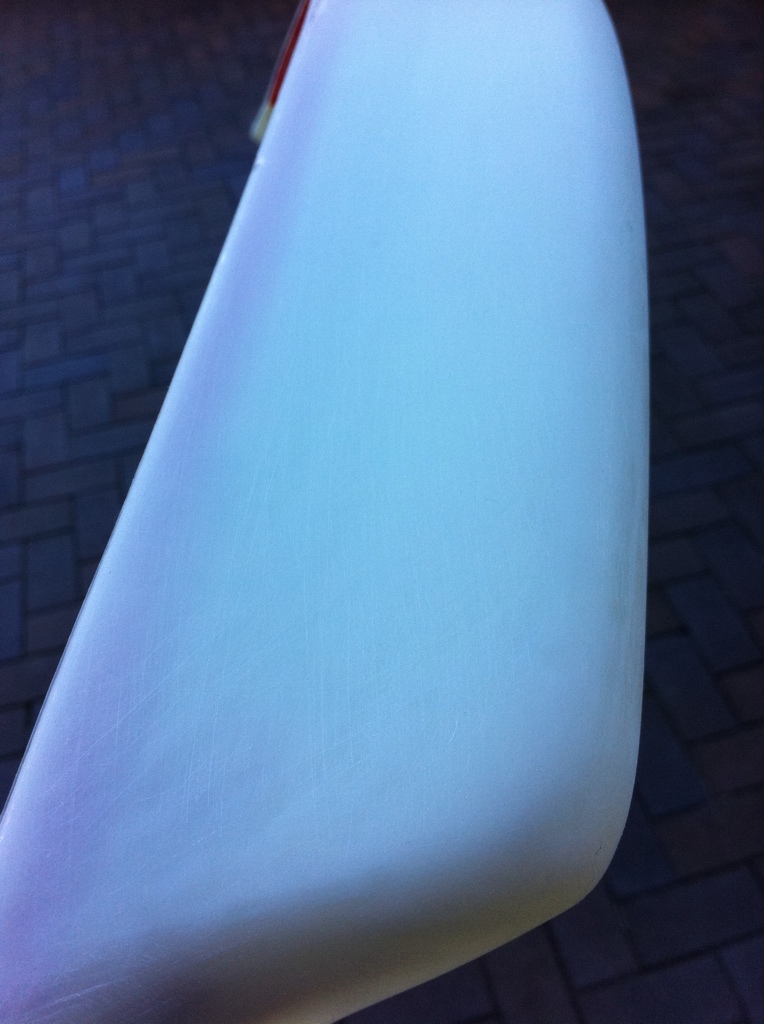
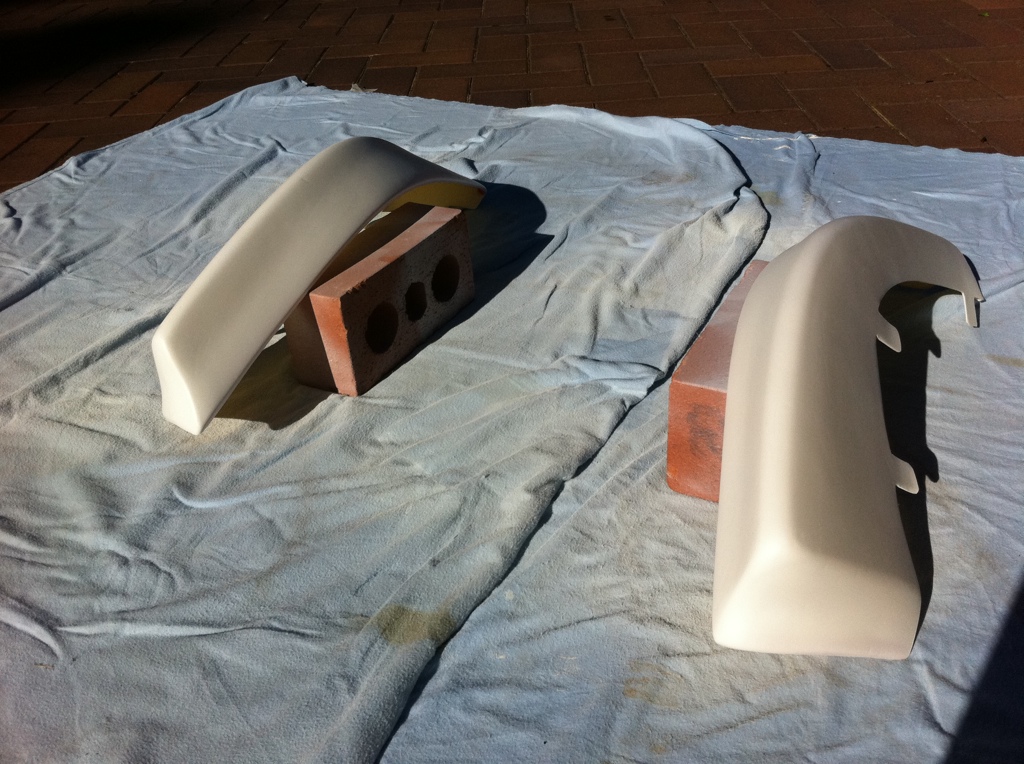
2.
Now that you have that, sand it down dry (without water) with your 800 grit just to get rid of any harsh scratches from the 200 paper so ensure a smooth finish. Wipe it down with your wax and grease/meth spirits to remove any dust/debris etc. Should look like this:
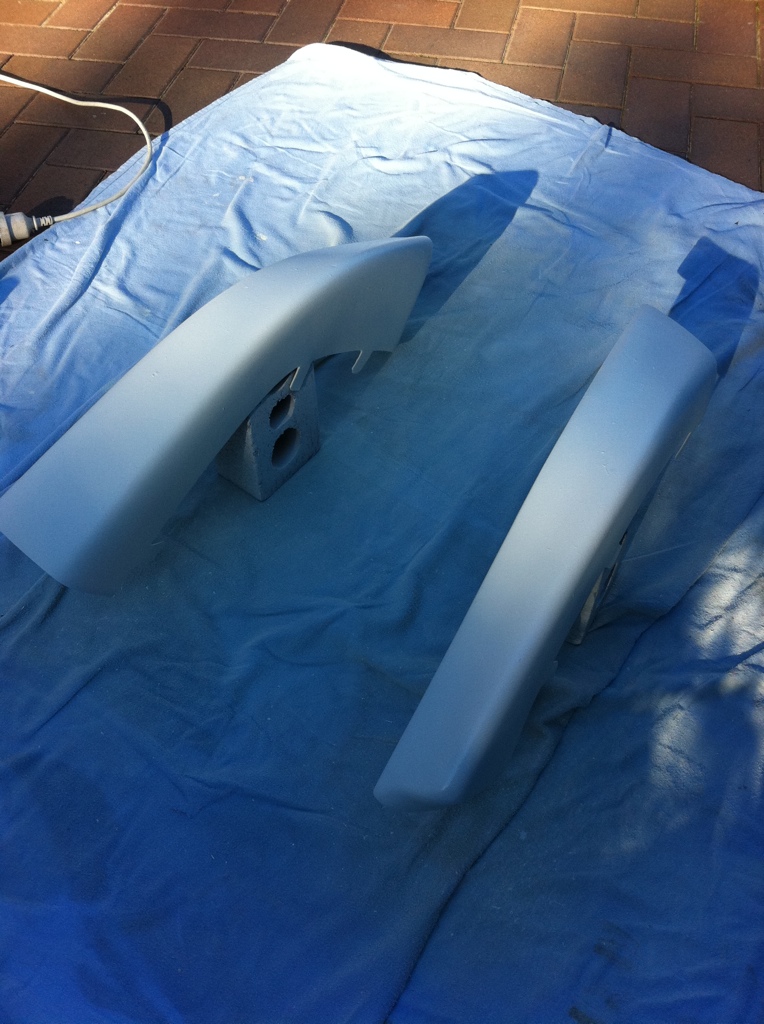
3.
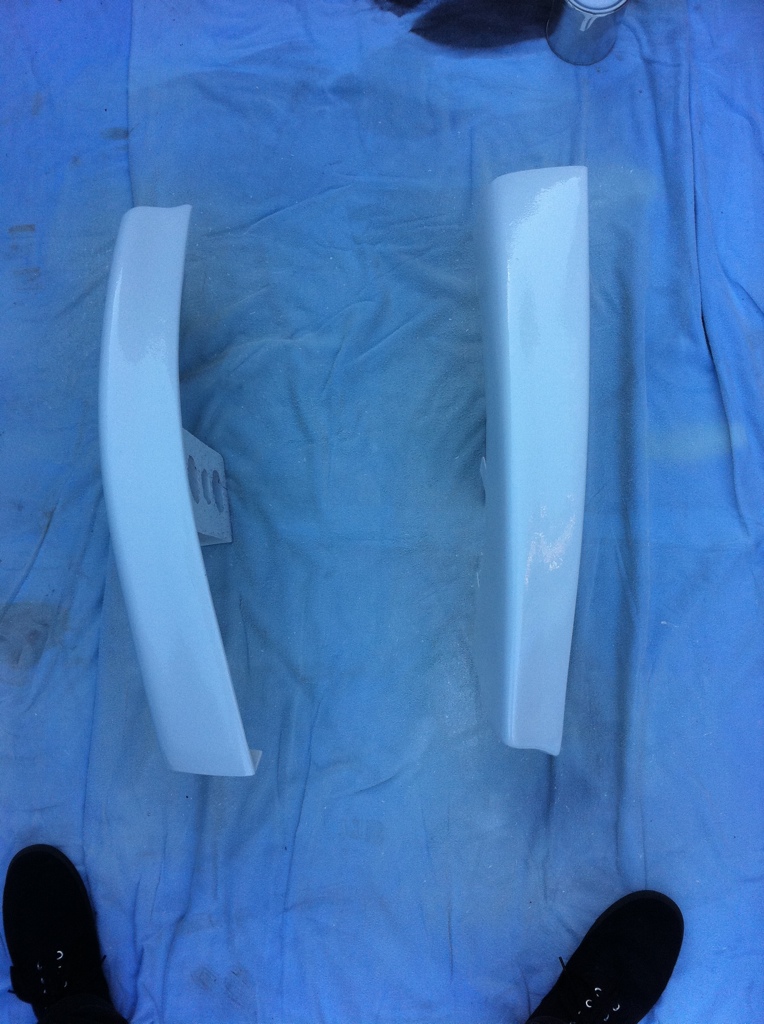
Lay down 2-3 layers of even primer, remember to do lighter sprays as you dont want it to run. Comes up like this:
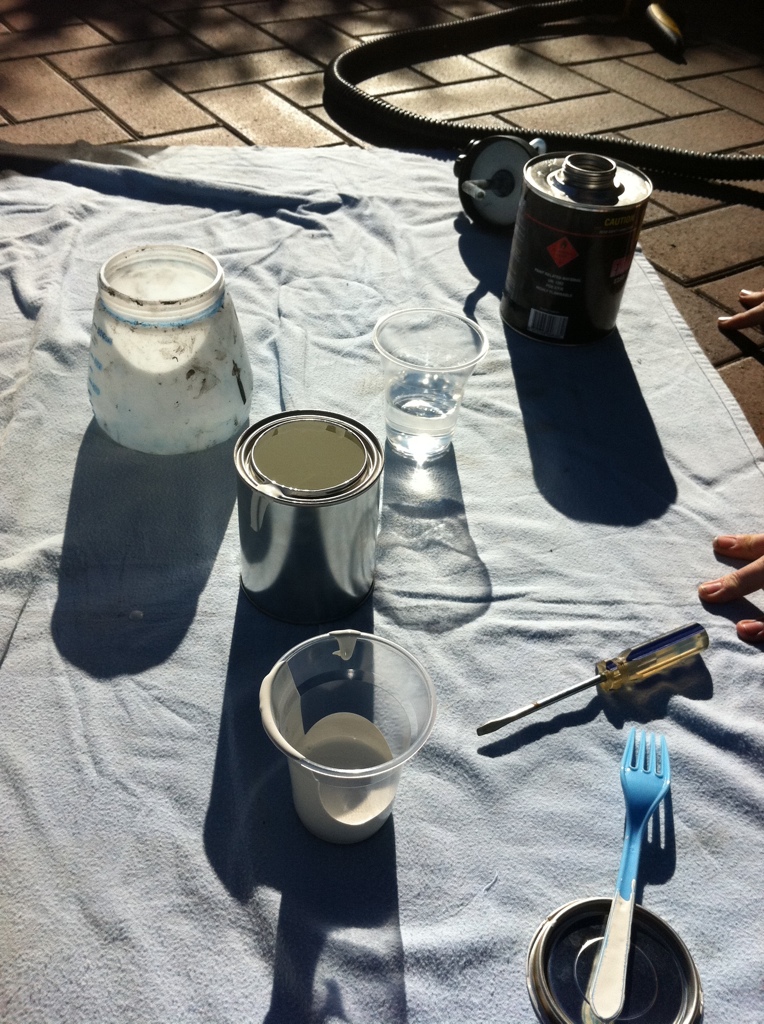
4.
Today I was using a cheap electric spray gun ( can be had for about $100 at autobarn or the like). Mix your paint to thinners 50/50. Lay down even coats until you get the desired colour finish, I ended up doing 4 or 5 thinner coats:
5.
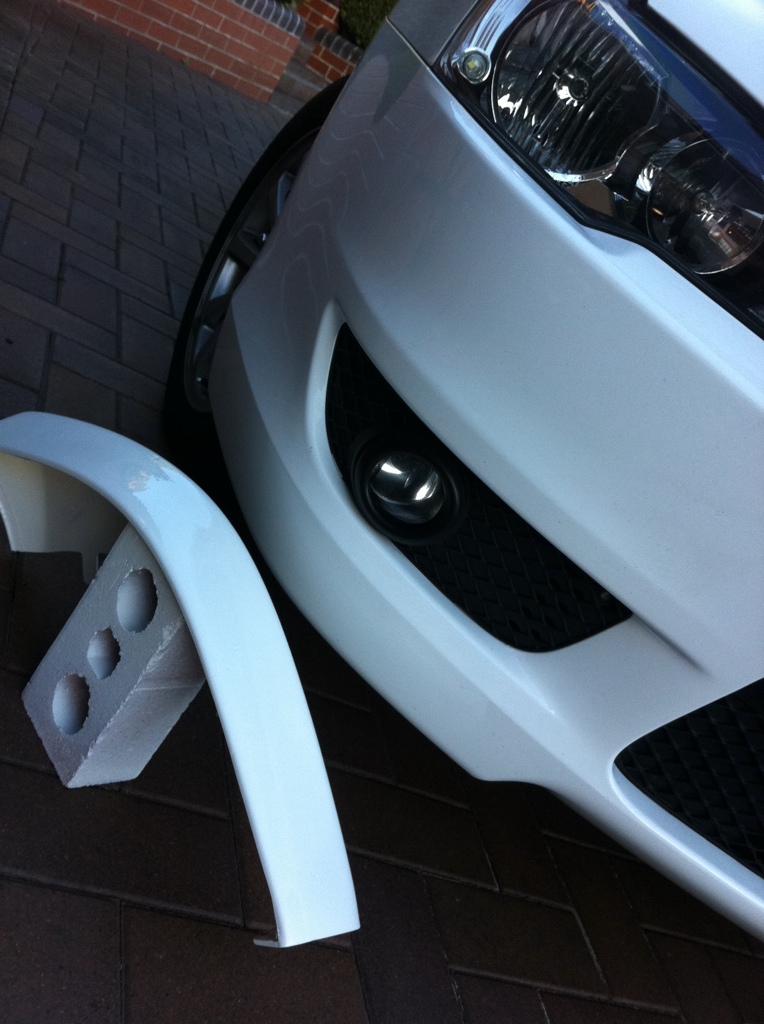
Get your clear coat and spray down as many layers as possible, I did about 7 or 8 here, this is because once it is dry you will want to wet sand it down and then polish it up to a shiny finish - gives the best results IMO.
Quick colour match shot.
There is still a bit of work to be done, going to wet sand it down with 1500 grit to make sure the area is even, I will explain my method for this when I post up. This will be followed by a polish and then later a fitment how to.
If at any point you make any mistakes, runs etc just let the paint dry, and do a light sand to remove and blemish and continue.
IN REGARDS TO THE BODYKITS KINGDOM PRODUCT IT BECAME APPARENT THAT THERE ARE DEFFINITE IMPERFECTIONS FROM THE MANUFACTURING PROCESS. THERE WERE GAUGES/DEEP SCRATCHES THAT COULD BE FILLED IN WITH A PUTTY BUT WILL BECOME BARELY NOTICEABLE WITHIN THE FINAL PRODUCT.
TEXTTEXTTEXT
- bunnishiwa
- Lancer Legend
- Posts: 1284
- Joined: Thu Dec 24, 2009 4:22 pm
- Location: Rye, Melbourne
- BR14AN
- Lancer Ralliart
- Posts: 650
- Joined: Thu Jan 21, 2010 10:53 pm
- Location: Cherrybrook, NSW
- Contact:
nava1990 wrote:looks good brian. what was the overall cost?
Sorry! Forgot.
AirDams $120 Express Delivered
Colour Coded Paint in Can from Autobarn $35
or
Paint + Thinners $50
Sand Paper $5
Primer $14
Clear $15
And lets assume we have methylated spirits around the house.
So if youre doing it with a spray can:
$189.00
If youre buying the paint to shoot through a gun:
$204
Pretty sure I havent missed anything. Maybe some self tapping screws?
- BR14AN
- Lancer Ralliart
- Posts: 650
- Joined: Thu Jan 21, 2010 10:53 pm
- Location: Cherrybrook, NSW
- Contact:
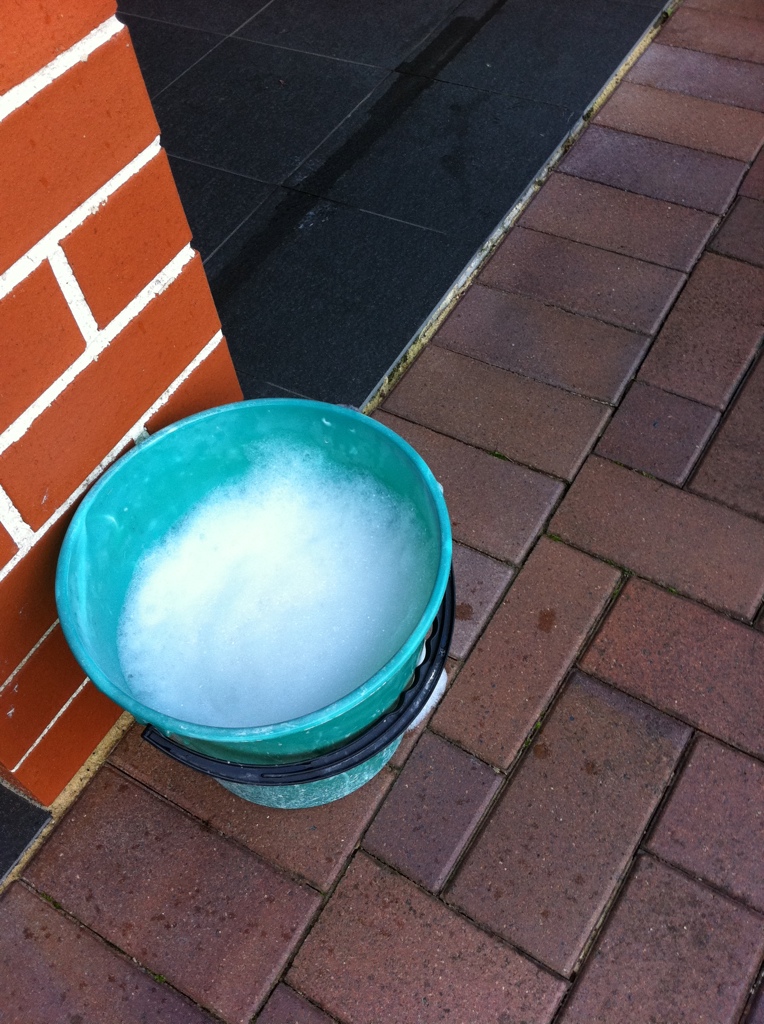
Final steps, get a bucket of soapy water.
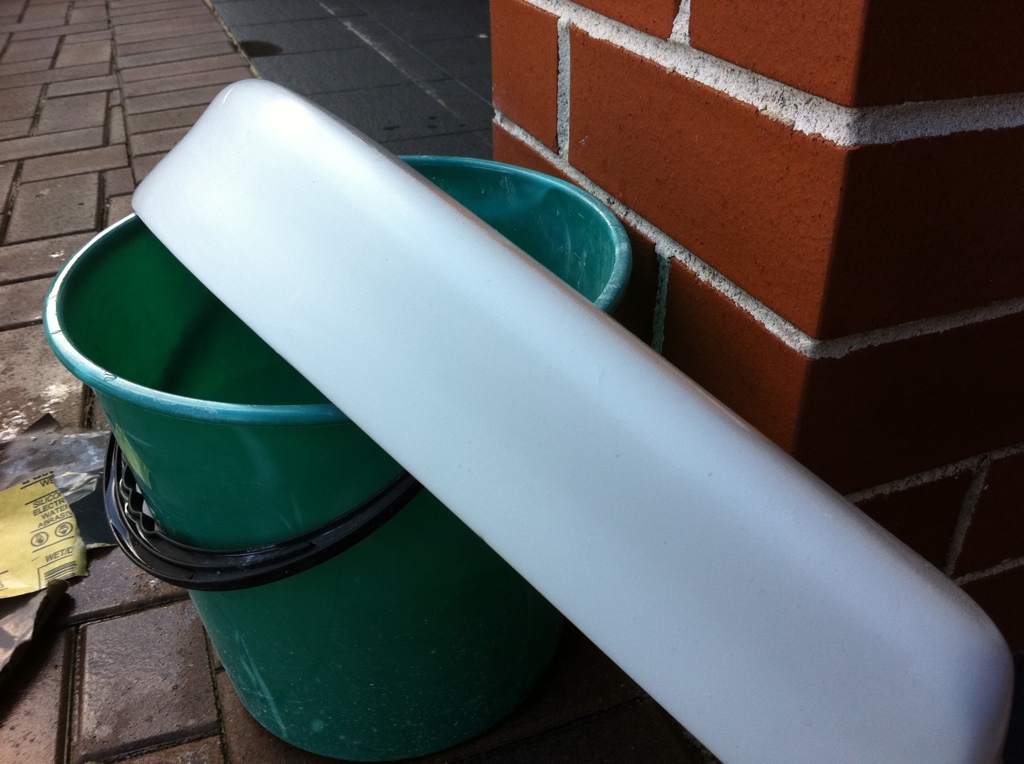
Sand with 800, then 1200 and then 2000 grit. It will come up like this:
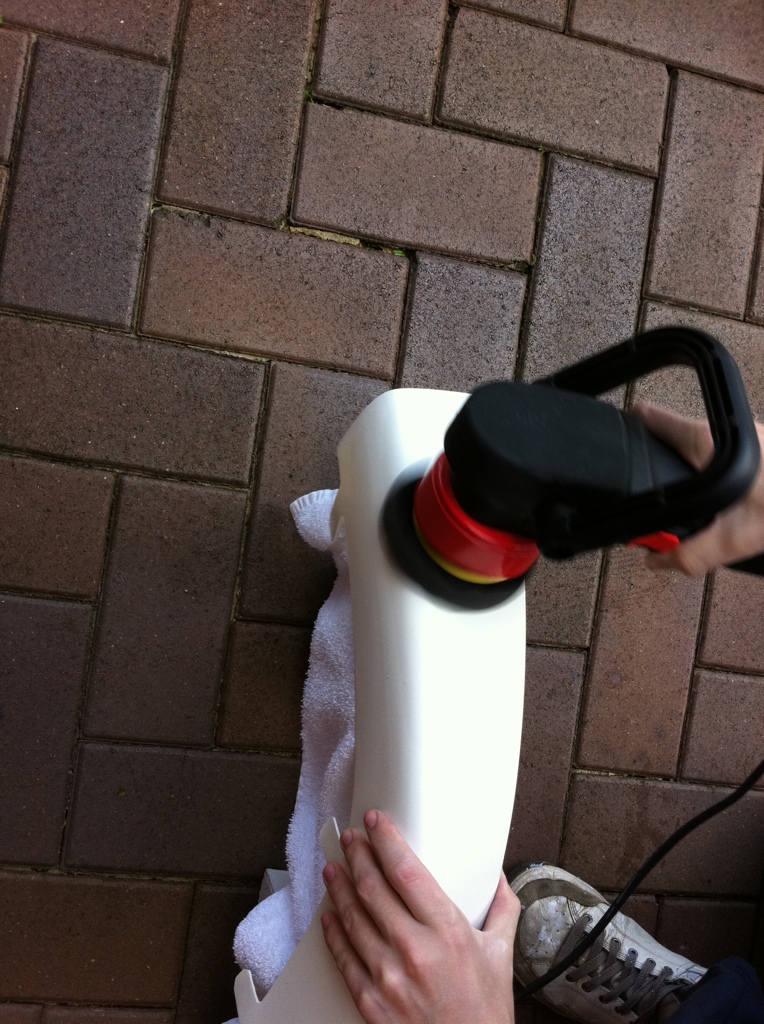
Then get out your polisher and do a couple coats:
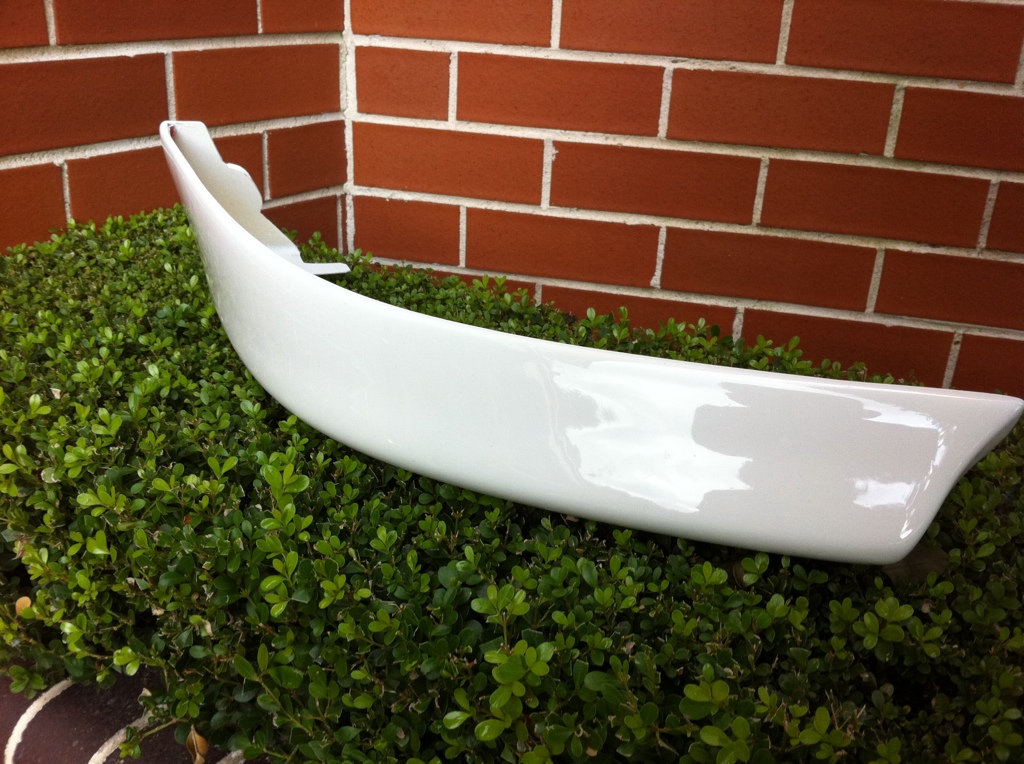
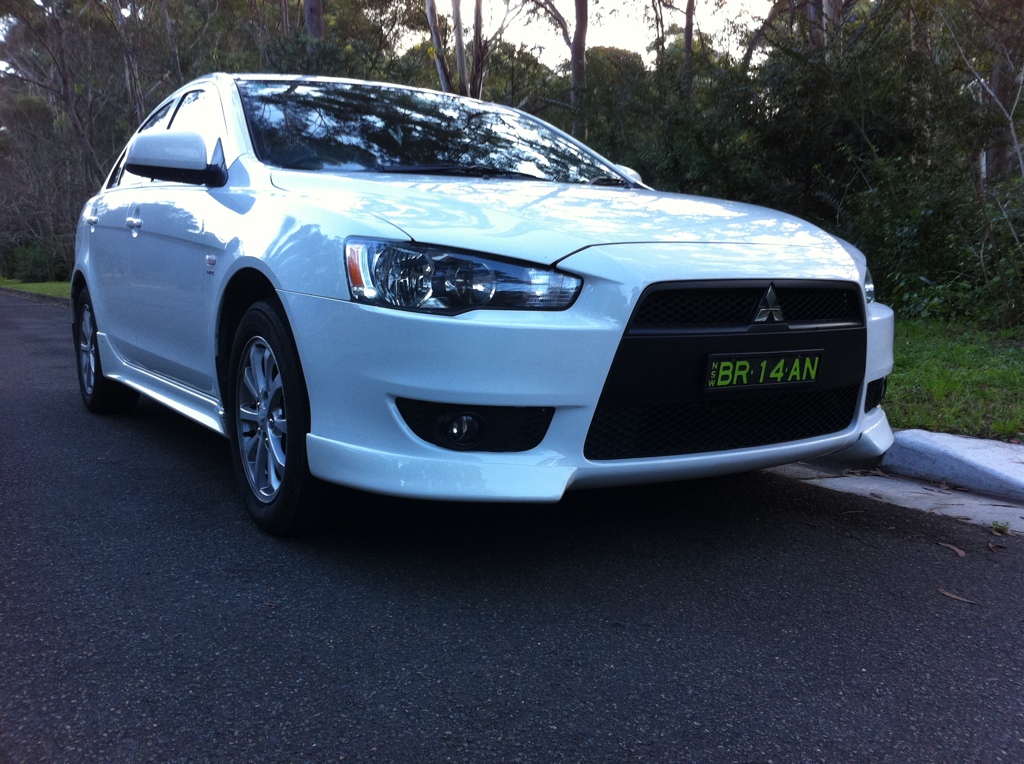
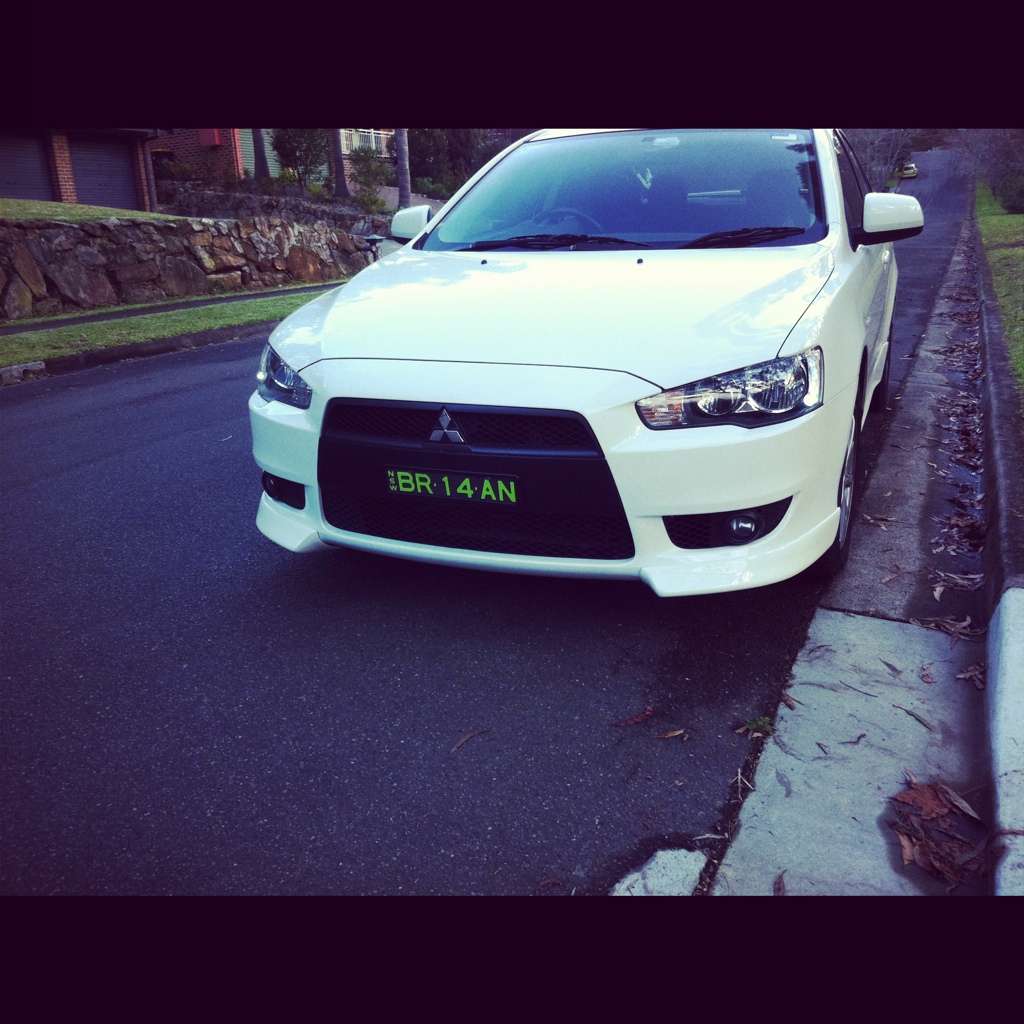
Finished product:
Fitment was pretty good except the ends on the inside has quite a bit of gap, planning to get some white silicon and fix that up.
Sand with 800, then 1200 and then 2000 grit. It will come up like this:
Then get out your polisher and do a couple coats:
Finished product:
Fitment was pretty good except the ends on the inside has quite a bit of gap, planning to get some white silicon and fix that up.
Who is online
Users browsing this forum: No registered users and 35 guests