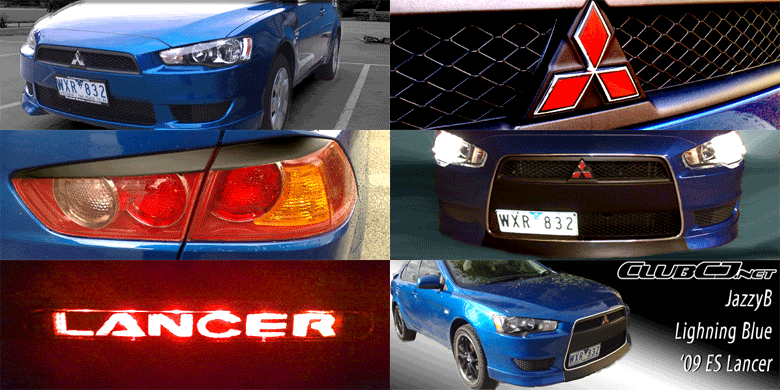
How easy is it to remove vinyl? if anyone can be stuffed can u write a short vinyl tutorial for us?!?!
How to prep the car (probably just wash - lol)
How to apply - some tips for best application
Everyday vinyl stuff we should know - (ie. does it come off with a pressure washer? etc.)
How to remove - and what can we expect when we remove a vinyl? after 2 years, will there be a noticable difference to the paint? how about longer? does the adhesive screw with the paintwork etc.
Thanks to anyone who can fill me in - I saw a rear bumper vinyl, just graying out the middle section of the back bumper - looks pretty nuts, but I'm not doing it if there's a chance it'll stuff paint or something - If I don't like it in 3 months I wanna be able to have my same old beautiful car back by (carefully) ripping it off!
Cheers fellow CJ'ers
***** ALERT - Nominations for your new ClubCJ Committee can be made here *****
How easy is it to apply/remove vinyl?
Moderators: Moderators, Senior Moderators
- Ozie
- INACTIVE Member Account
- Posts: 5445
- Joined: Mon Sep 22, 2008 7:00 am
- Location: Sydney, NSW, Australia
Ok JazzyB.....
DRY METHOD.
Vinyl goes on easy you just have to be confident when applying it, and you just have to be prepared with the right tools.
You must first Start off by cleaning the area very well, this means removing all dust even when you have dried the area.
Check to make sure that the area you dried does not leave residual dust.
Always start in one corner and position your vinyl straight insuring that it will go on straight along a horizontal line.
line it up and tape it to the area so that you can see where the vinyl will lay....stand back have a look!! be sure you are happy...
then start your application.
A squeegy is the best tool to use when applying vinyl, but you can get away on small areas with a credit card.
peel away some of the backing starting in one corner and start to put down the vinyl.....smoothing it out as you go,
lifting it back up on occasions when there are any bad air bubbles.
continue to constantly keep smoothing with the squeegy...the faster and quicker you do this...the better the results.
then when complete trim off any access vinyl, and remove small air bubbles with a pin.
If you do it correctly you should get next to NO air bubbles.
Goodluck with your Application.
Last edited by Ozie on Mon Mar 30, 2009 7:19 pm, edited 1 time in total.
Soapy water (A little detergent added) works well too
My Dad used to do this on his trucks with company logos etc
When the water dried off the vinyl stickers used to stay on quite well
My Dad used to do this on his trucks with company logos etc
When the water dried off the vinyl stickers used to stay on quite well
Australasian Gerbil Rearers Organisation, Official Re-Seller.
MY09 Rally Red VRX ClubCJ's 1st 4B12 2.4L - CCJ Lifetime Member #0004.
Merlinised....
MY09 Rally Red VRX ClubCJ's 1st 4B12 2.4L - CCJ Lifetime Member #0004.
Merlinised....
- ZERO COOL
- INACTIVE Member Account
- Posts: 264
- Joined: Tue Oct 07, 2008 1:25 pm
- Location: Bronx, NY, USA
Ozie wrote:Ok JazzyB.....
DRY METHOD.
Vinyl goes on easy you just have to be confident when applying it, and you just have to be prepared with the right tools.
You must first Start off by cleaning the area very well, this means removing all dust even when you have dried the area.
Check to make sure that the area you dried does not leave residual dust.
Always start in one corner and position your vinyl straight insuring that it will go on straight along a horizontal line.
line it up and tape it to the area so that you can see where the vinyl will lay....stand back have a look!! be sure you are happy...
then start your application.
A squeegy is the best tool to use when applying vinyl, but you can get away on small areas with a credit card.
peel away some of the backing starting in one corner and start to put down the vinyl.....smoothing it out as you go,
lifting it back up on occasions when there are any bad air bubbles.
continue to constantly keep smoothing with the squeegy...the faster and quicker you do this...the better the results.
then when complete trim off any access vinyl, and remove small air bubbles with a pin.
If you do it correctly you should get next to NO air bubbles.
Goodluck with your Application.
Exactly. Super great OZ.
Who is online
Users browsing this forum: No registered users and 12 guests